Get It Running: Bikes Can Always Be Repaired
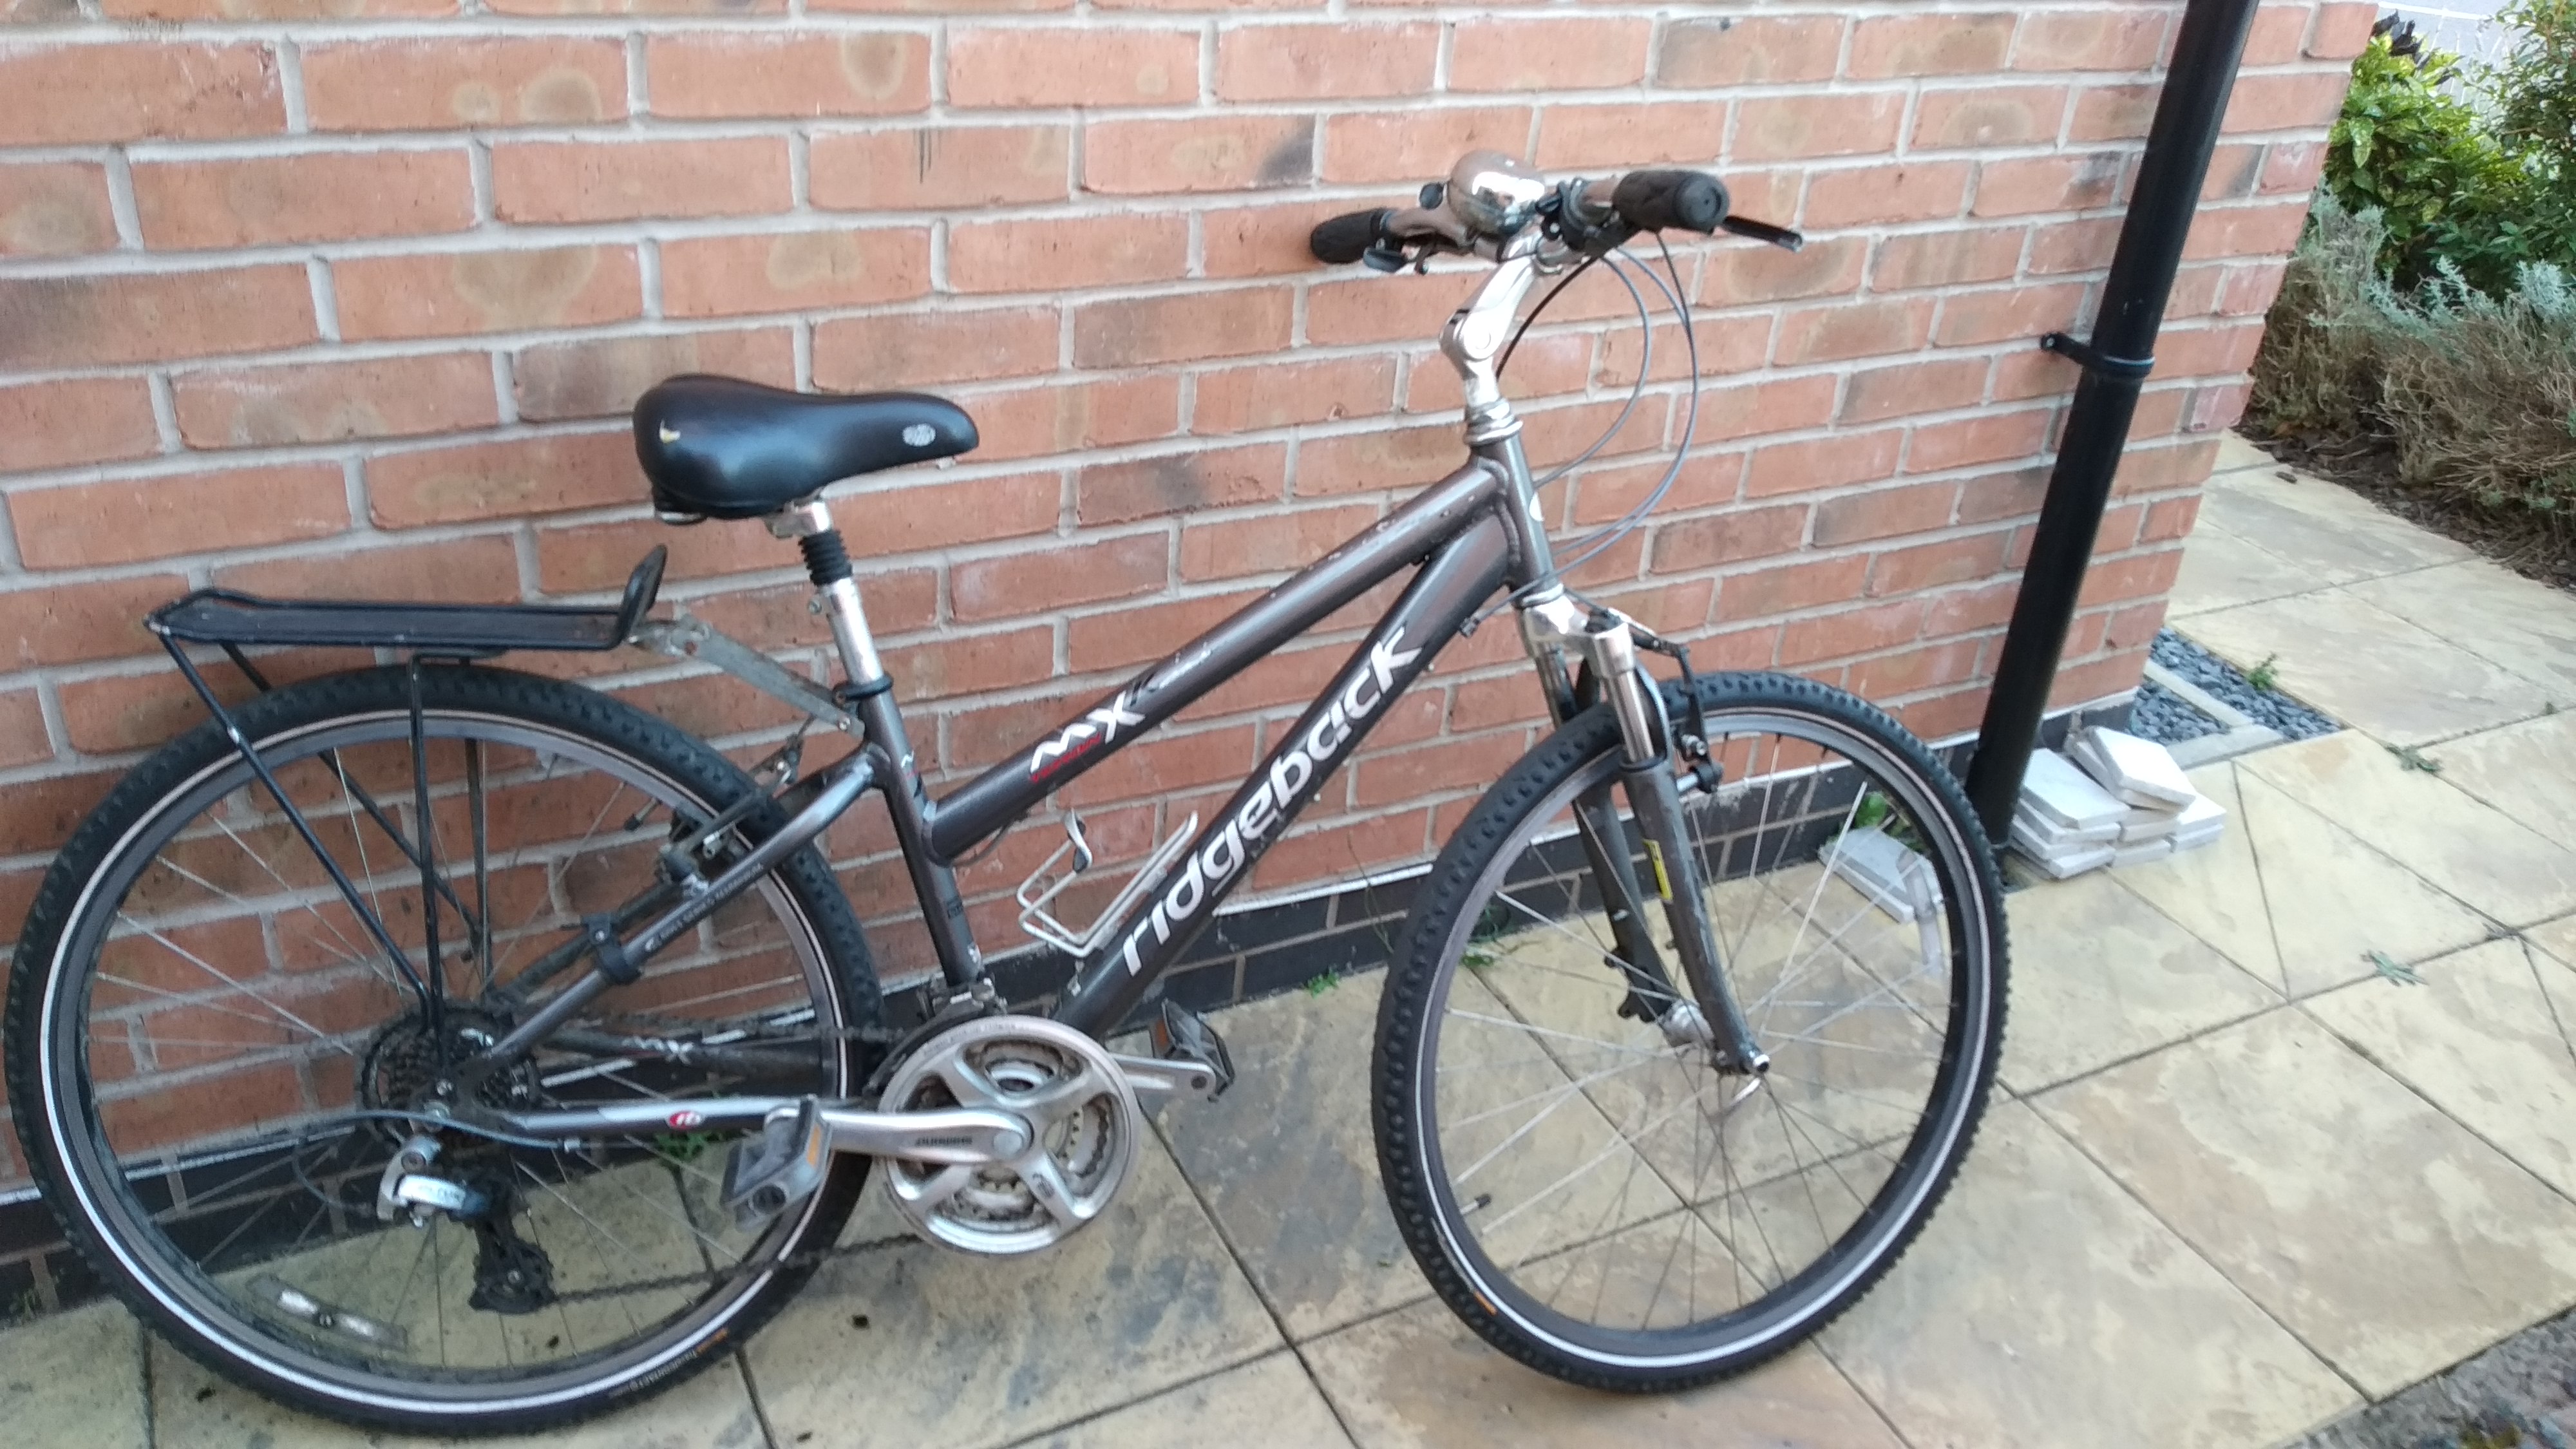
I didn't take enough before and after photos of this project, but here's the finished project: A working bike, from something that was almost working but damaged.

The bike in question is the bike of a friends mum, who hasn't ridden it in many many years. I'm sure we can all think of someone who has a bike like this.
This particular bike had a few issues. The brakes weren't great, the tyres had leaked to flat (pretty ordinary for the years of non-use), a loose headset, and a loose back wheel.
The first few issues were easy to fix. A pump and an allen key fixed them while I inspected the bike at their house.
The other issues were harder. The loose headset didn't take long to fix, but it wasn't too bad and once tightened felt smooth. No new bearings needed.
The rear wheel however, well that was a mess. I'd already attempted to tighten up loose rear wheels on both my MTB and my road bike from when I'd not quite got them right before.
Tightening cup and cone wheels is very hard. When you do up the locknut it often takes the whole axle with it, which makes the cone effectively unscrew. Doing it in an axle vice means it's difficult to figure out if you've got the cone correctly set! It's tough, but with fiddling I managed to get it on the MTB, no worse on the road bike (I then fixed it this weekend and it's perfect), and on my friends bike it was a struggle...
First off, the locknut on the drive side was loose, which is a normal reason for these to come loose. This bike was a simple, mid range bike. It had a 6 speed freewheel. I tried finding a freewheel tool to remove the cogs, but couldn't seem to find one that fit. Why? Well, I got my old cheapo toolkit, with all the old cheapo bike tools in it (like locknut tools, and pin wrenches, stuff modern bikes don't have, but lower end bikes do). The tool in this was sure to be for a freewheel. It had the correct splines, and was almost the right size, but was slightly too big. Why? No idea, still no idea, but I hammered it in and removed the cog, then hammered out the jammed tool (you don't need a tool to tighten a freewheel).
Once this was off, tightening the rear wheel was simple, but the afforementioned difficulties reared their ugly heads. I got it good enough. My friend isn't a rider who will be jumping or destroying the bike. The wheel is safe, it'll likely wreck the bearings but looking inside when I was repairing it there's a lot of grit in there. I just didn't have the time, nor energy, nor feel the point in replacing the bearings. Get it running, getting it right could come later if she wished for it to be perfect.
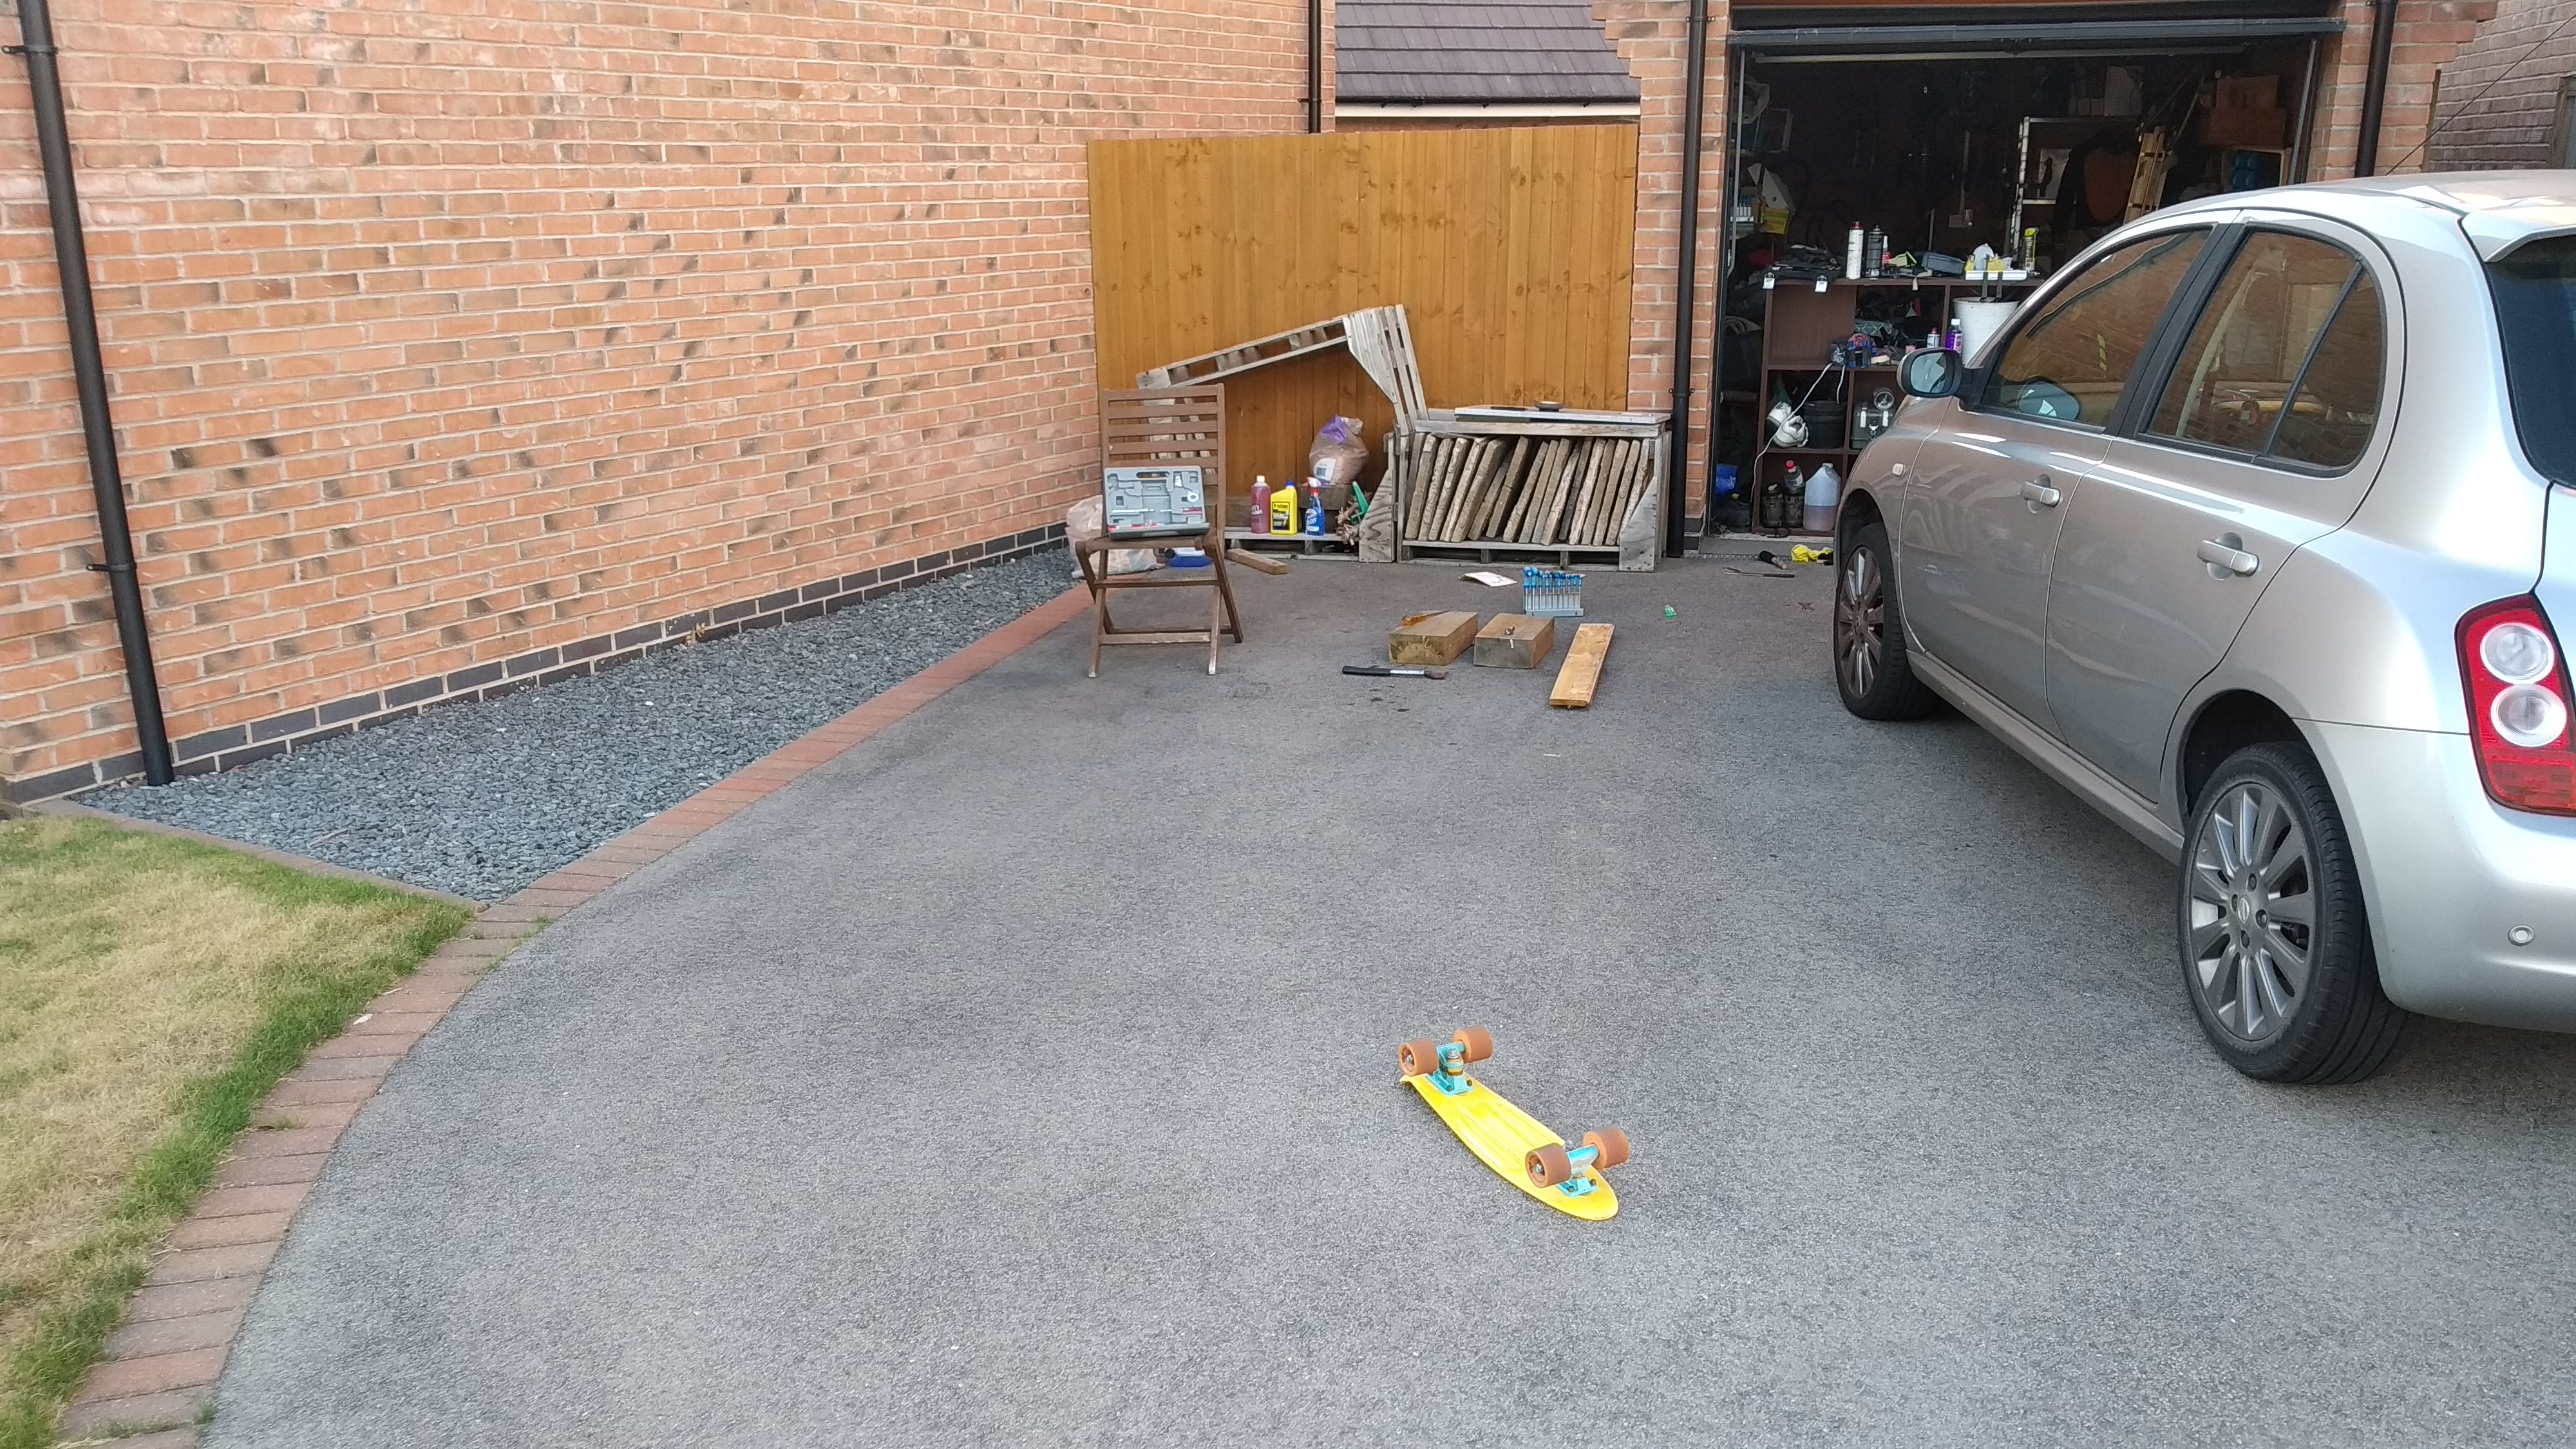
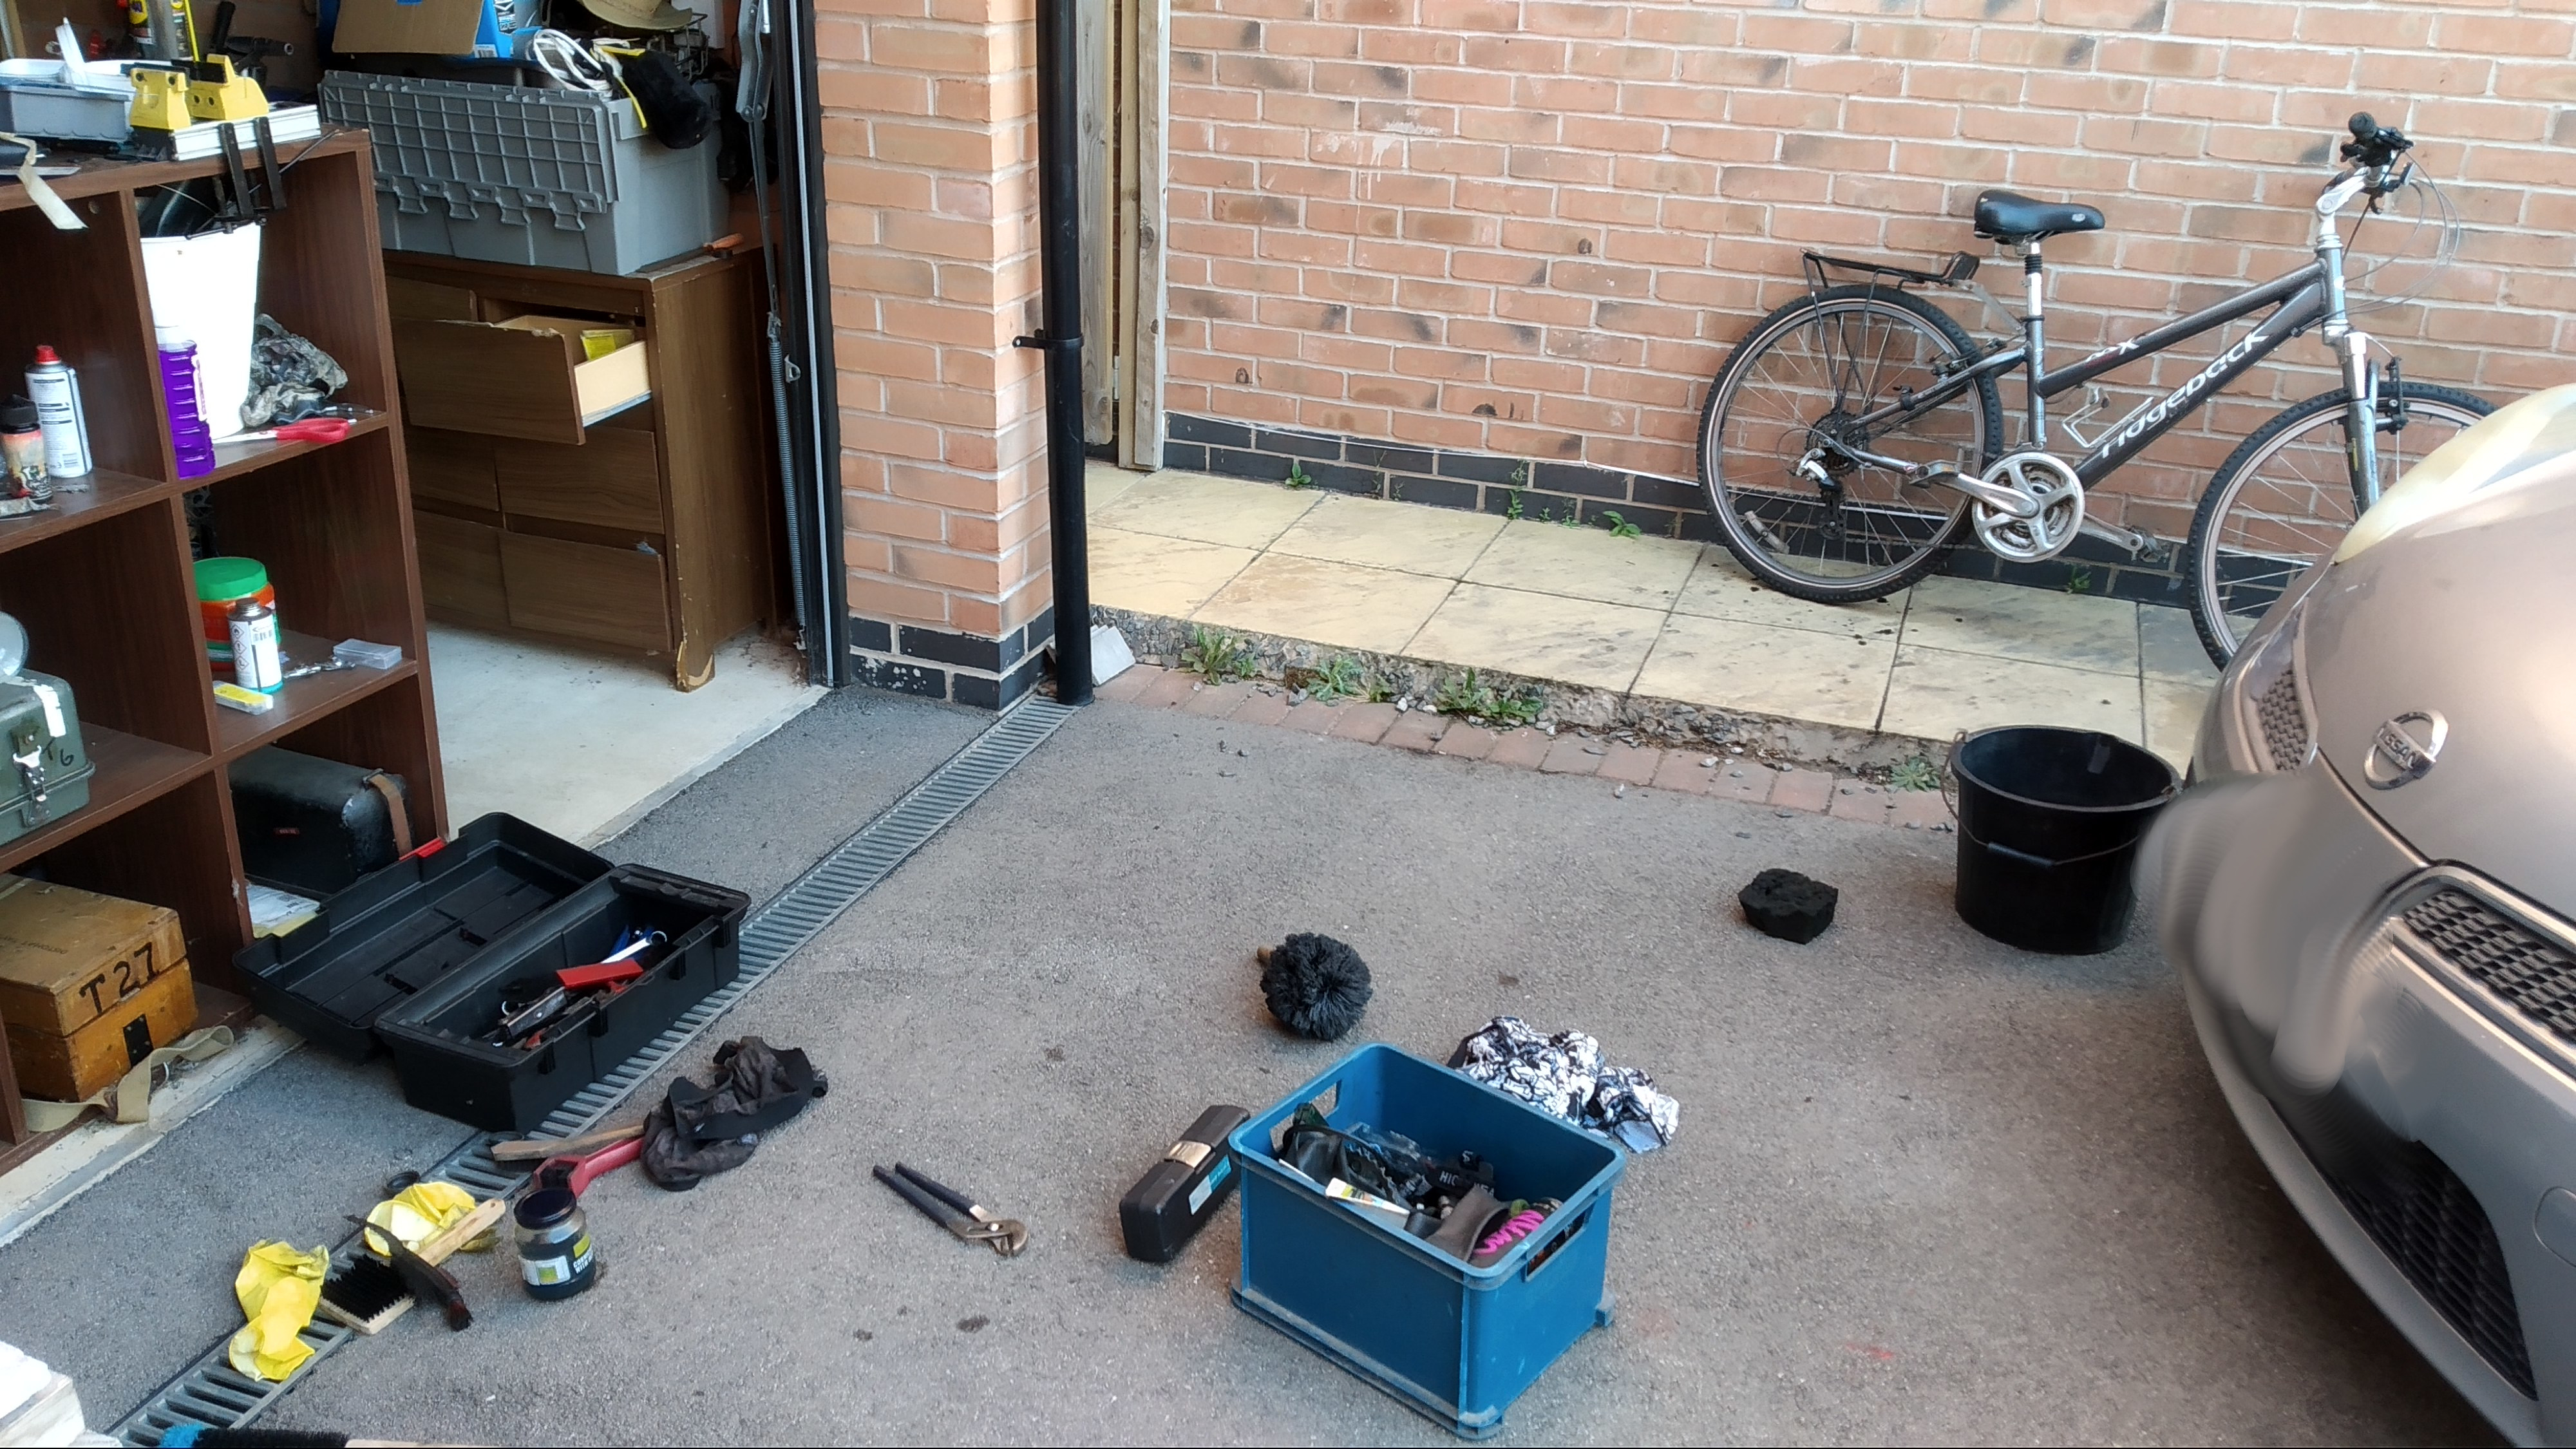
So, what damage did all this cause? Well, it too 2 hours, my driveway looked like this:


And I learned that I have no idea how to do a "quick job".
I love working on these sorts of bikes though, they're amazing. They work well, they're reliable, they're simple to work on, and I understand the principles of them because I can see all the moving parts (even if sometimes I find it hard to adjust them).
Consider getting your old bike out, give it an M-Check, give it a quick clean with a bucket of water, dish soap, and a brush (use an old toothbrush for the gears), and see what's wrong. It's possible it's something you can fix, or that it might be reasonably cheap to get the bike running again by taking it to a local bike repair shop.
Bikes were built to be ridden, and they can ALWAYS be repaired. Some repairs are just more invasive than others (like replacing a whole frame, kinda feels like replacing the whole bike but the frame is 1 part of the bike, the same as the wheels or tyres or pedals).
Anyway, enough rambling. Bikes good, I like repairing them, and we should do cool shit with them.