Skip to content

Craven's Bike Site

Failed Crank Swap

Part 2 Here

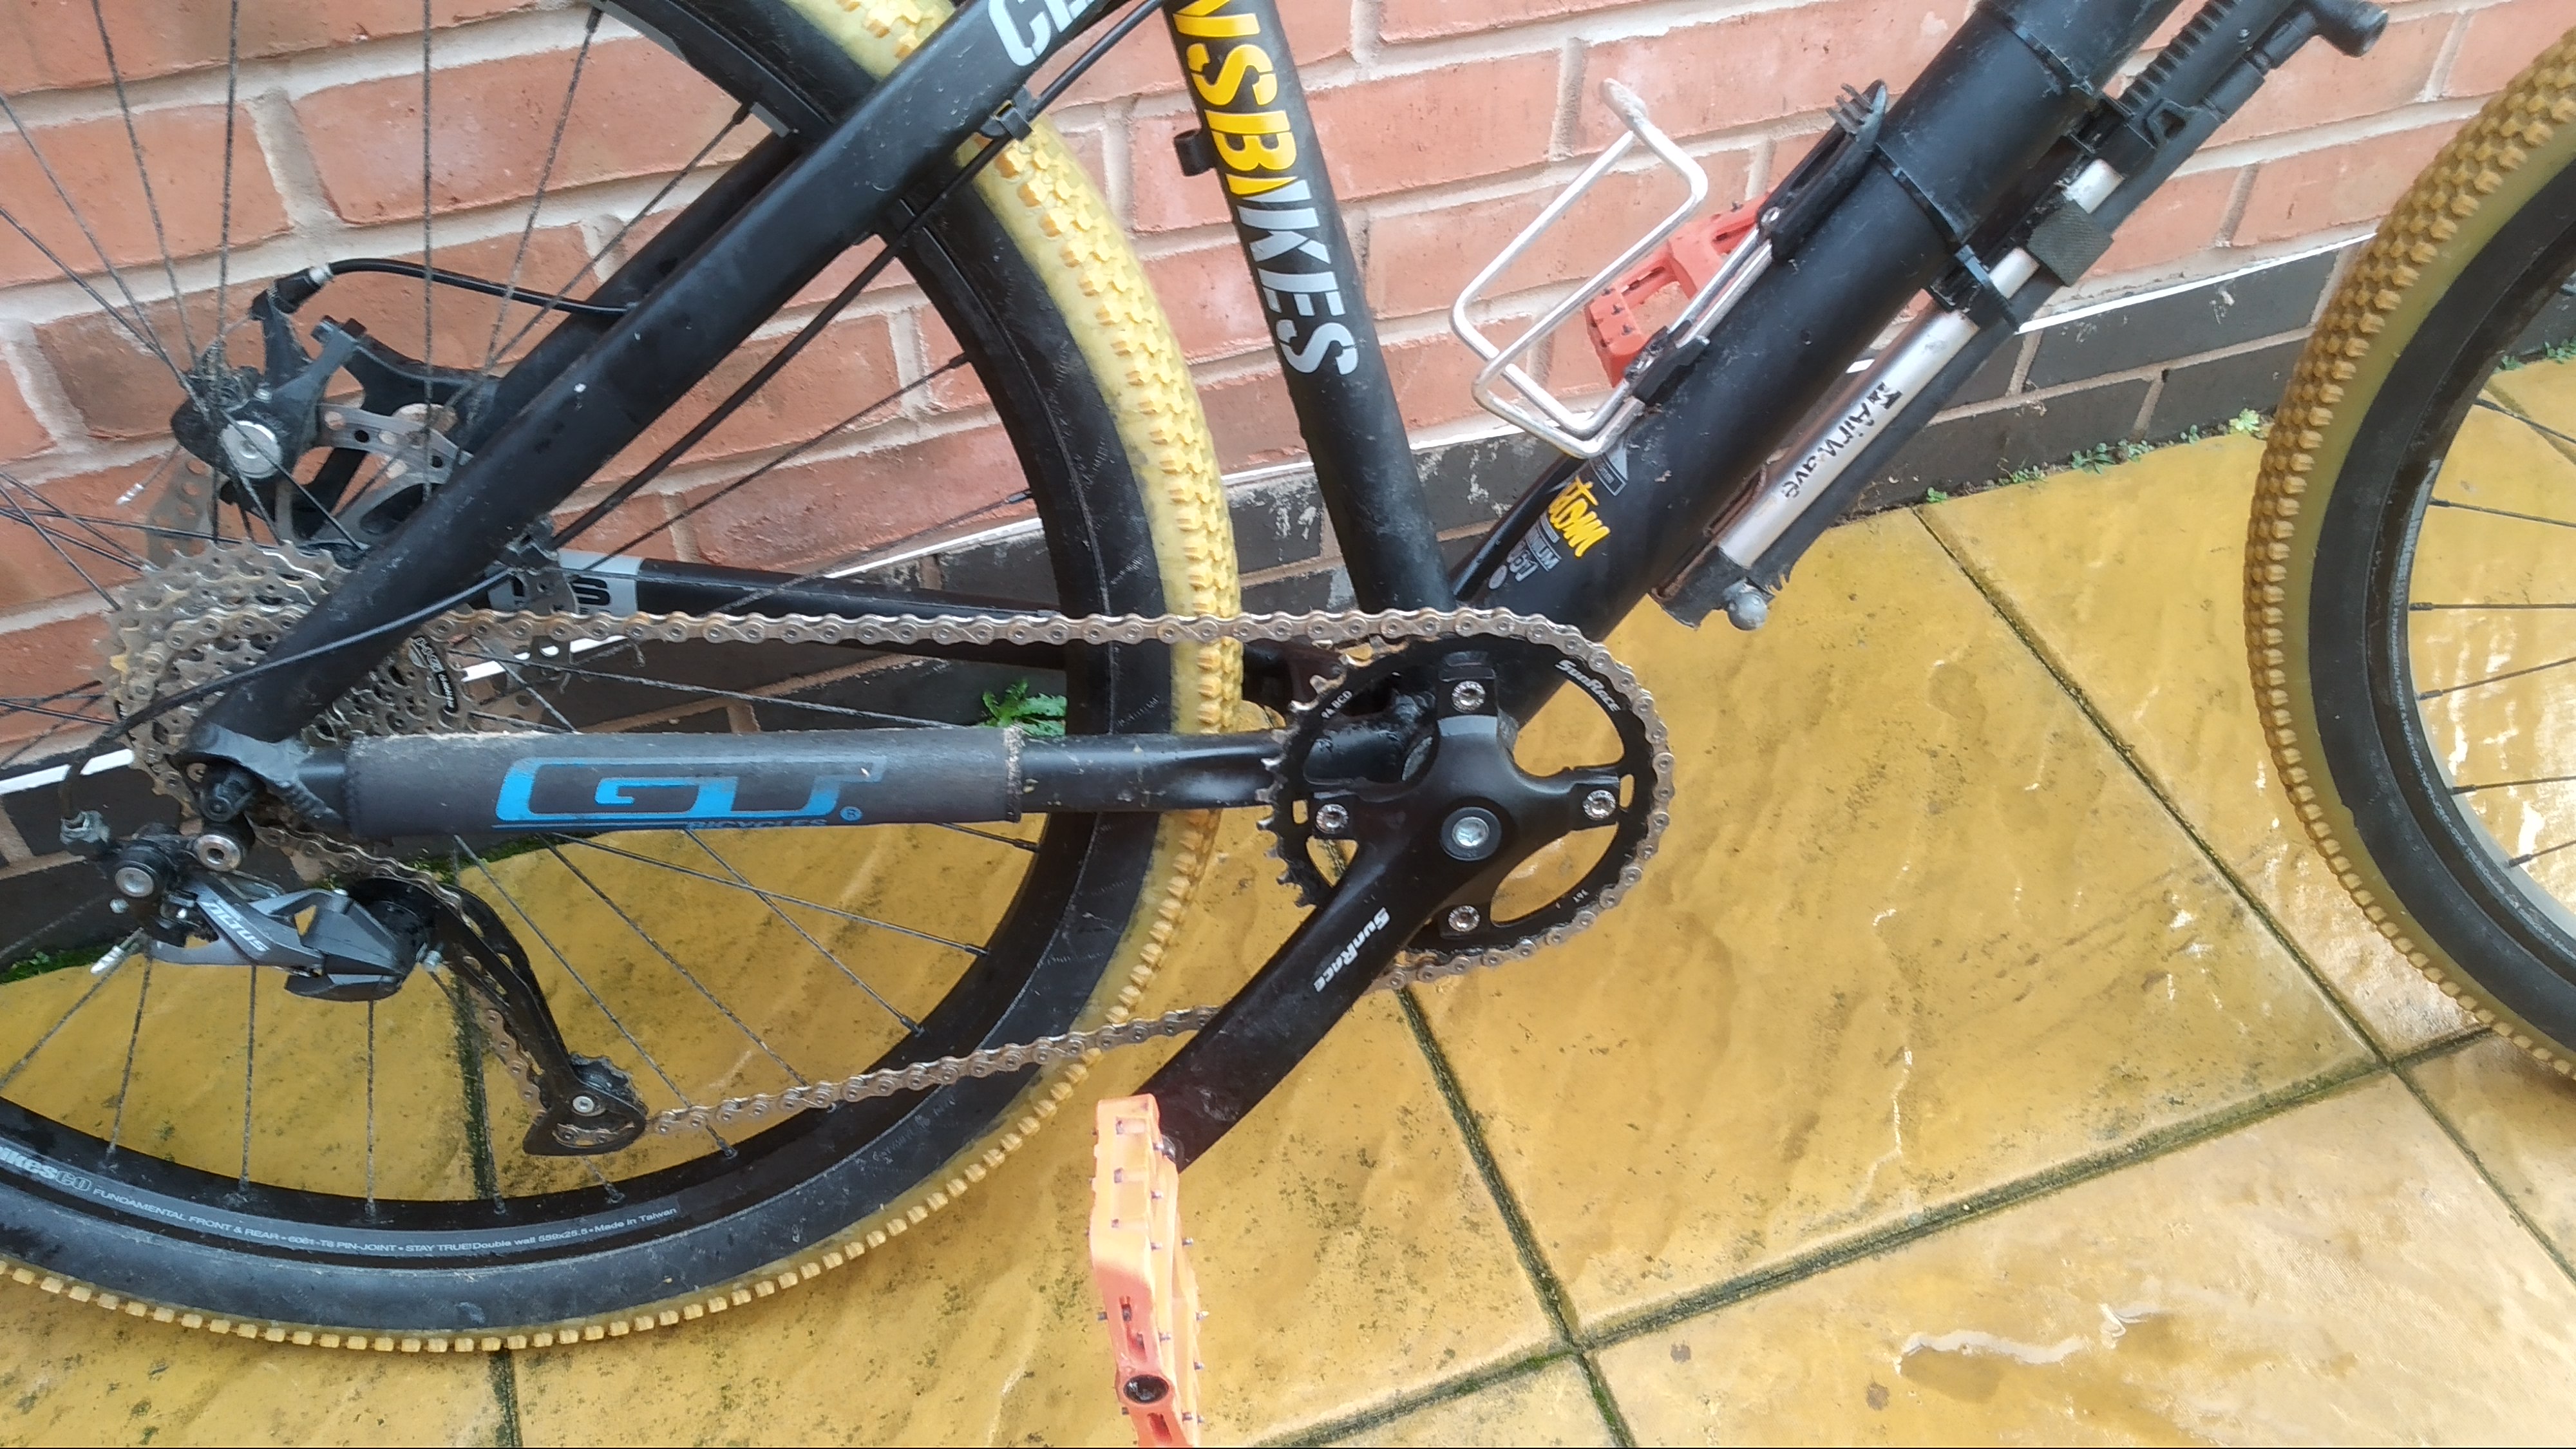
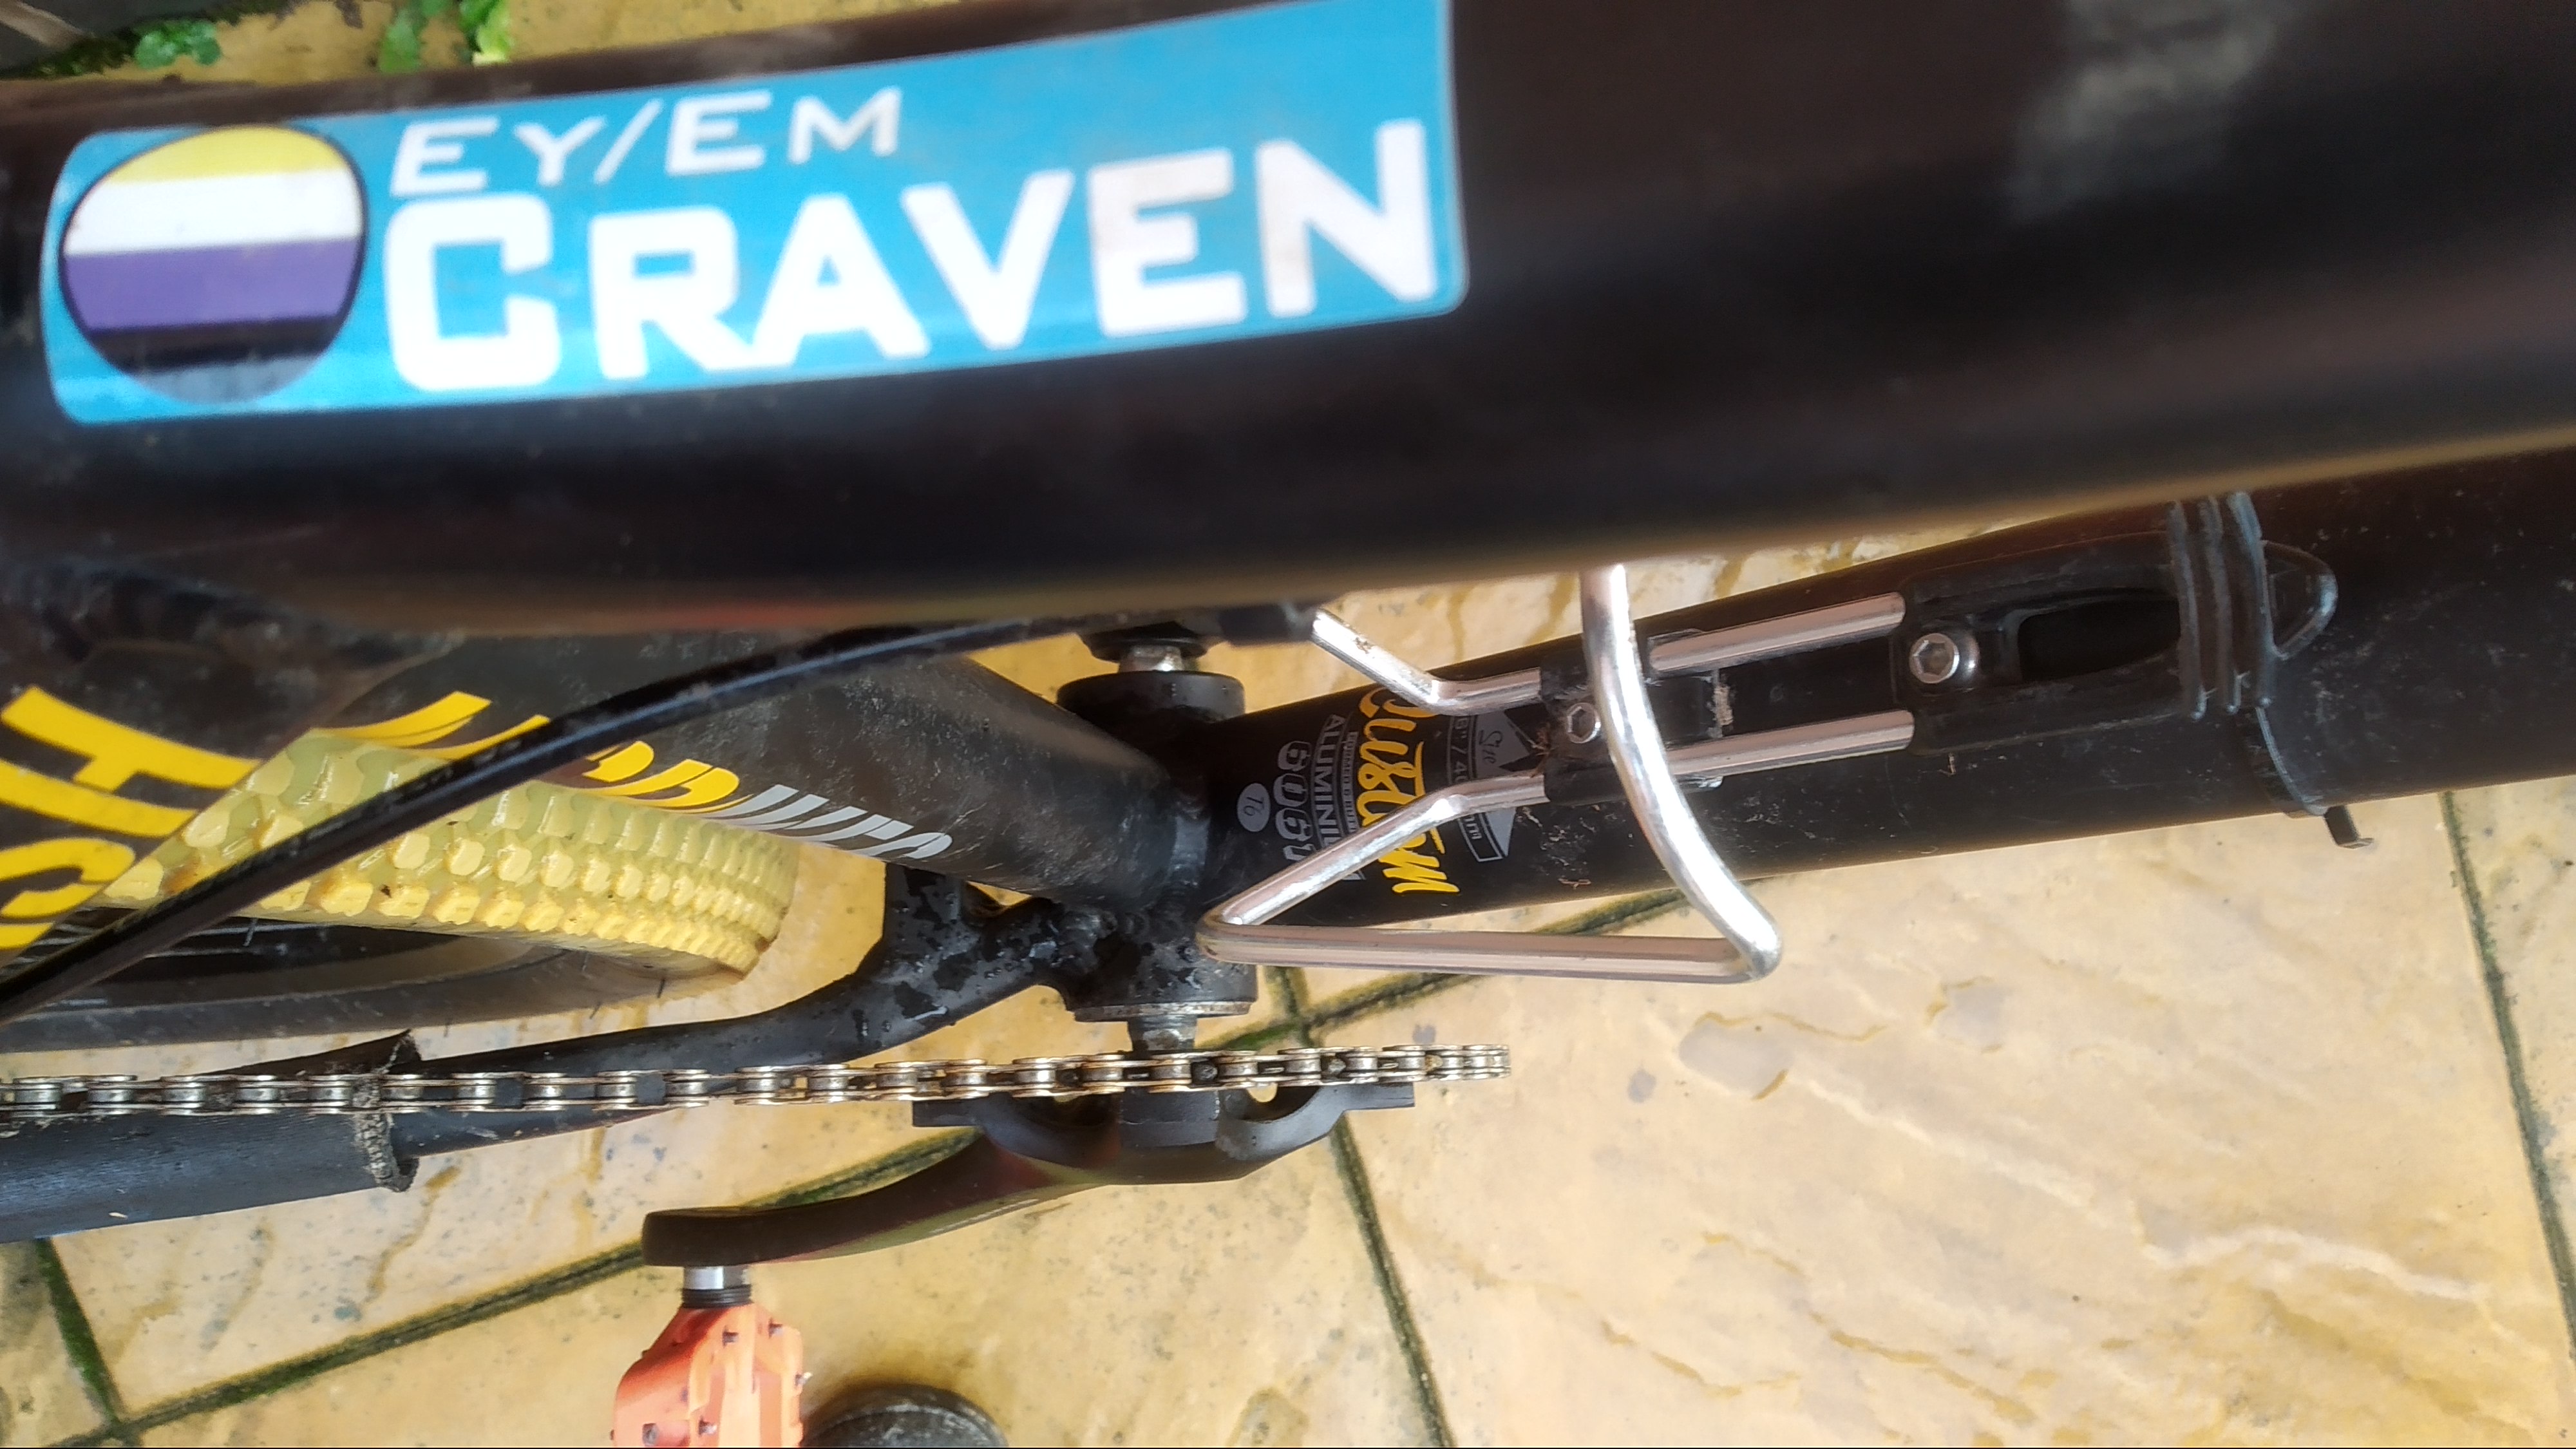
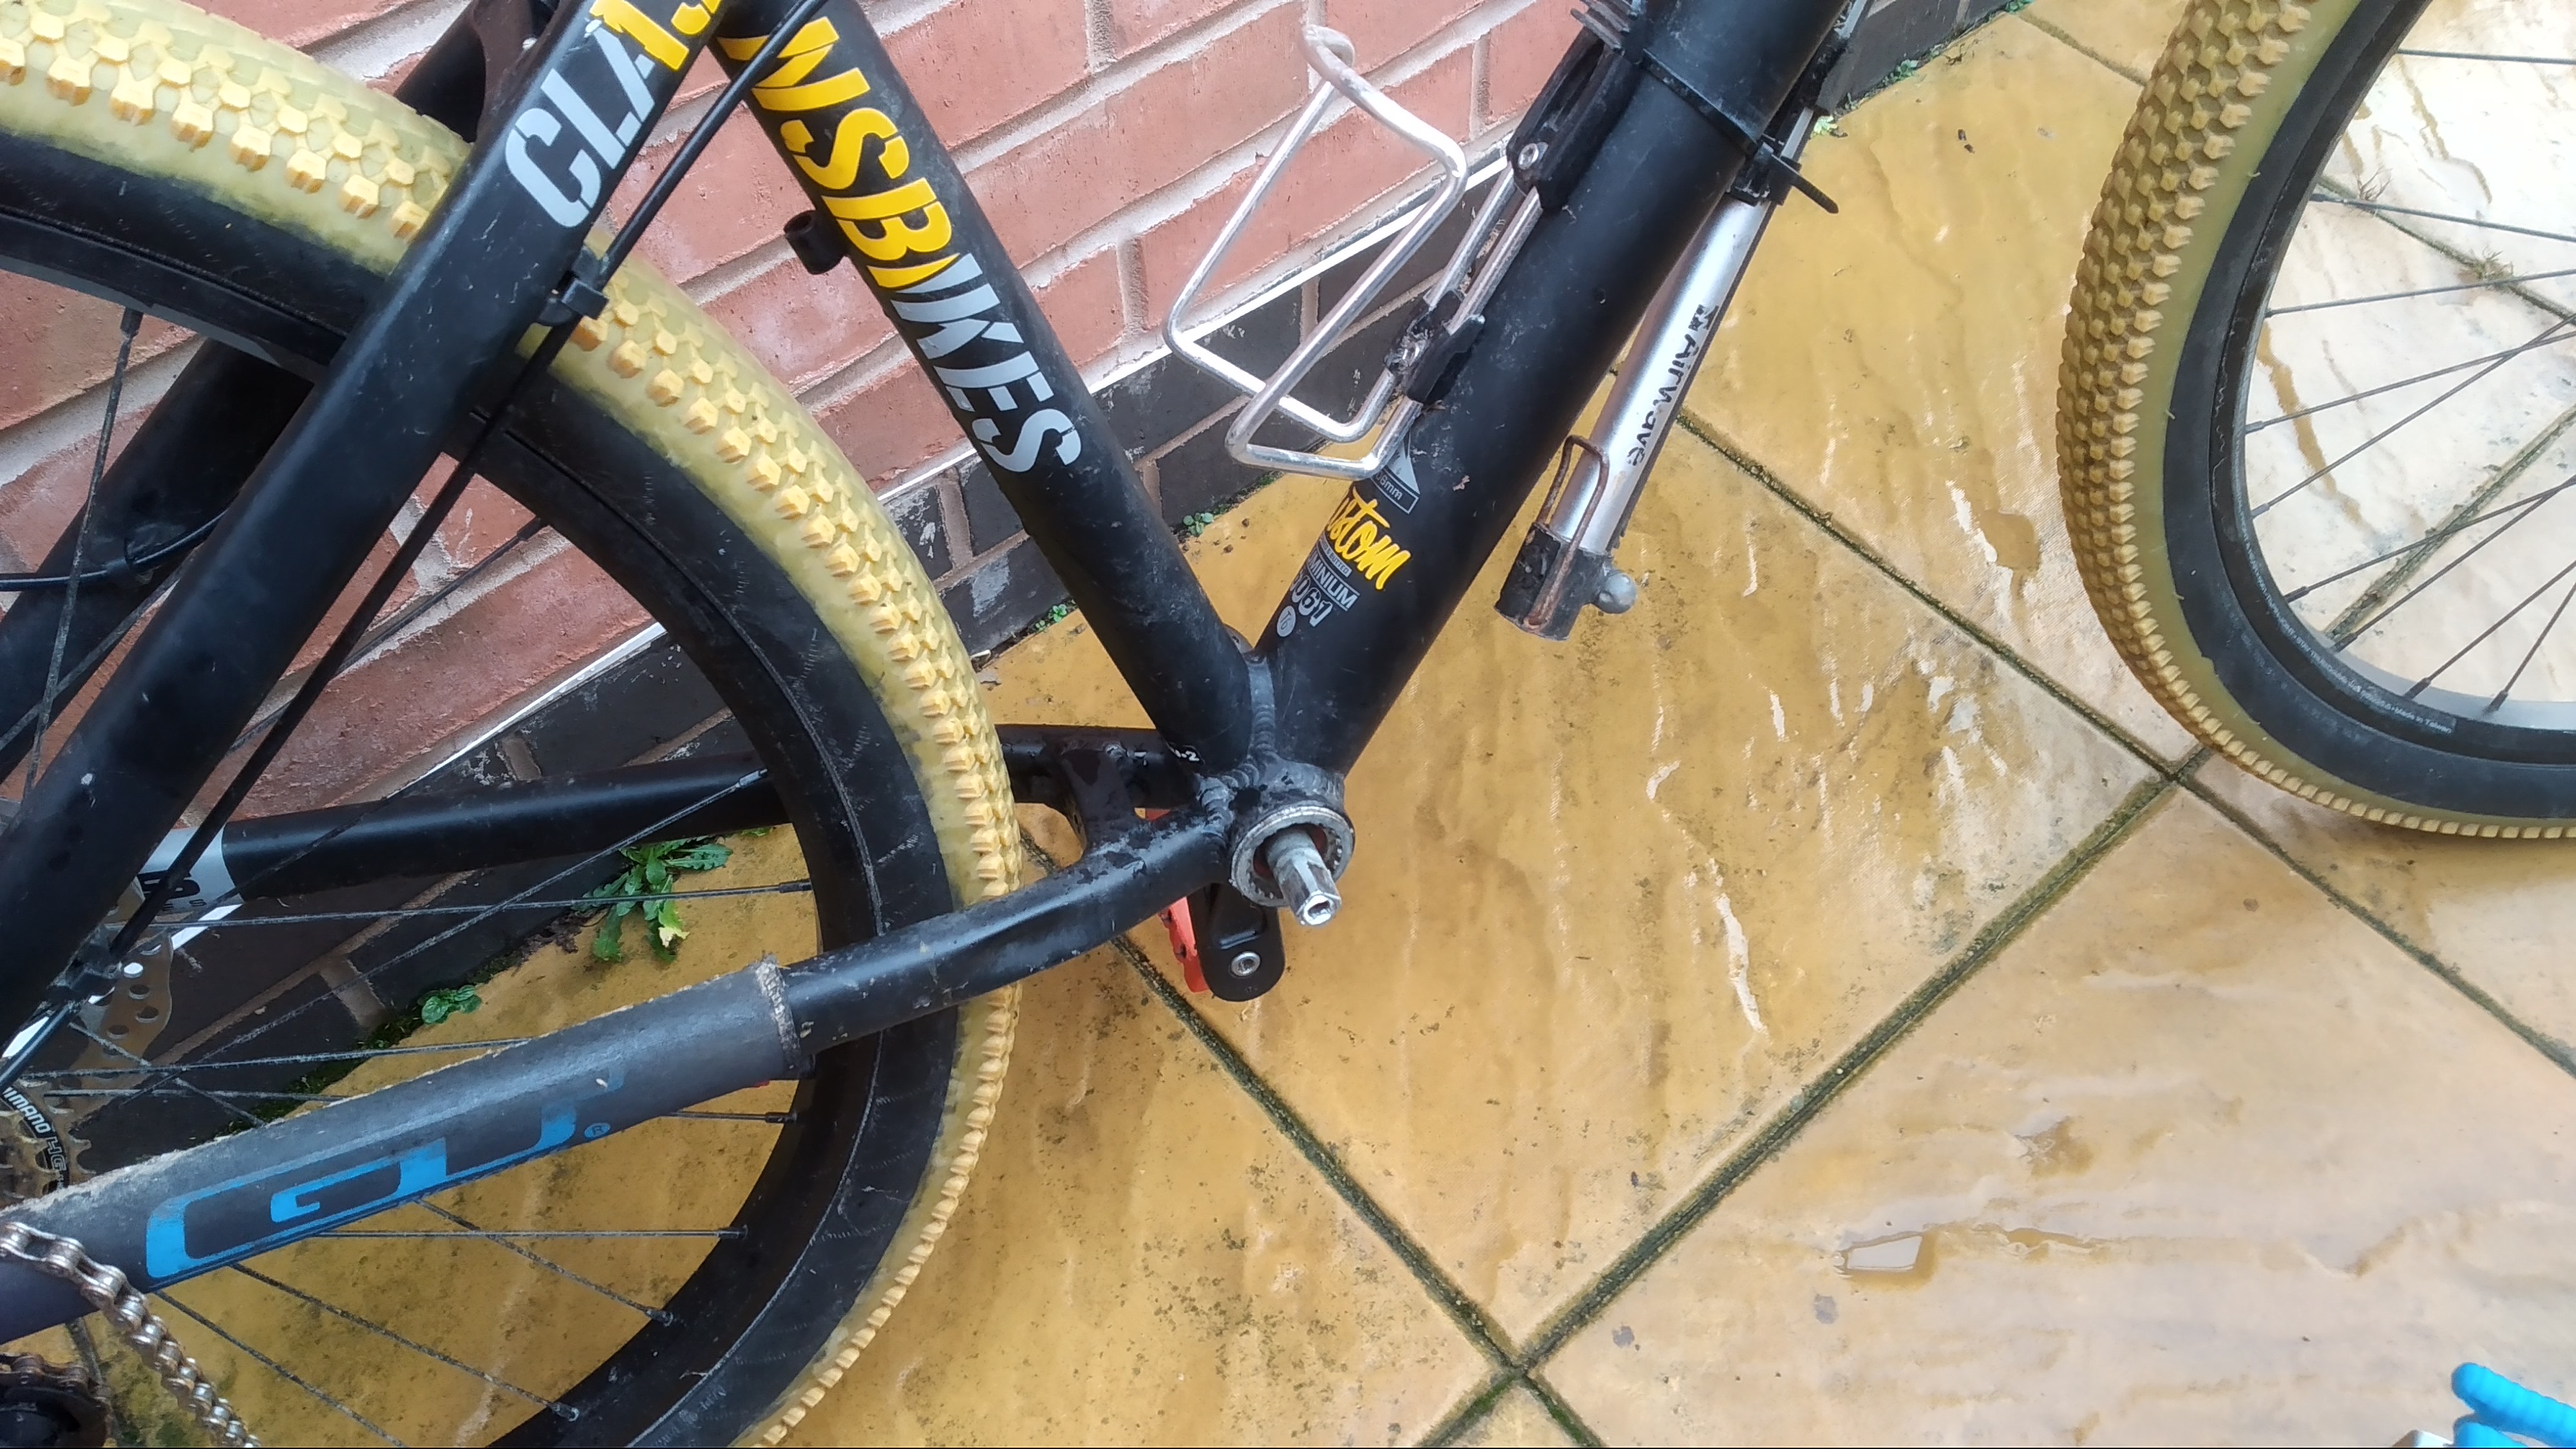
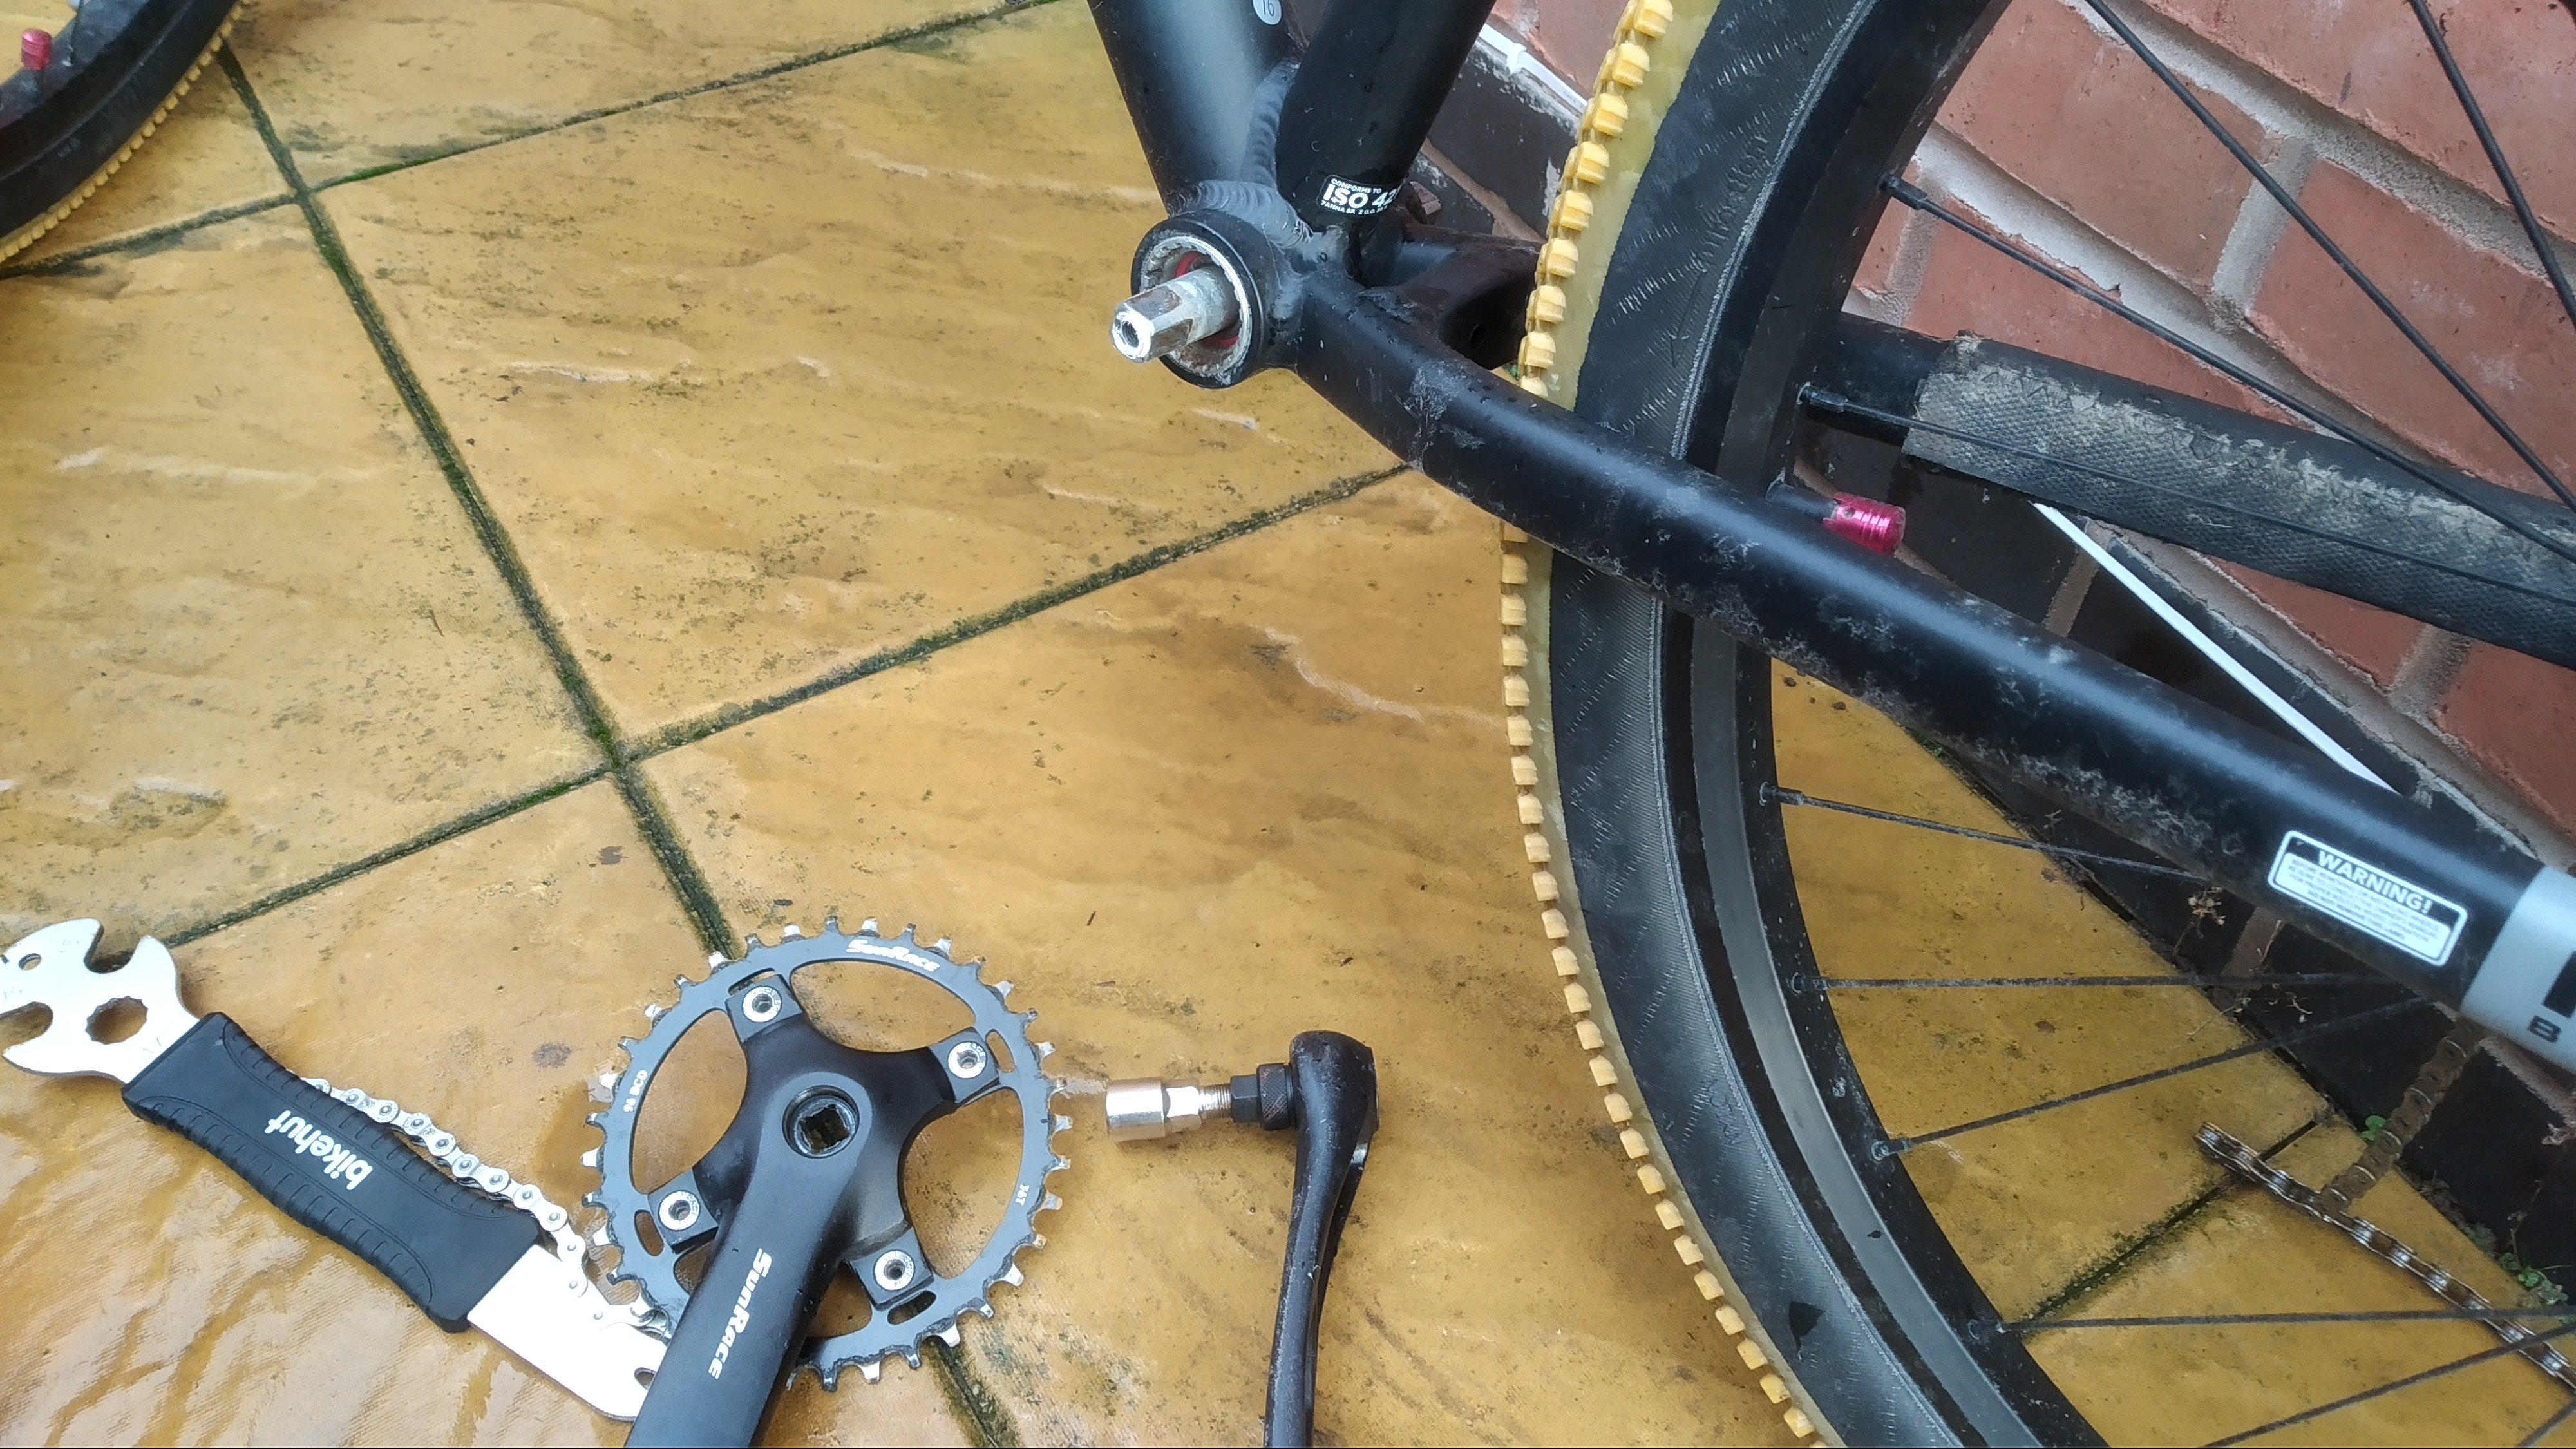
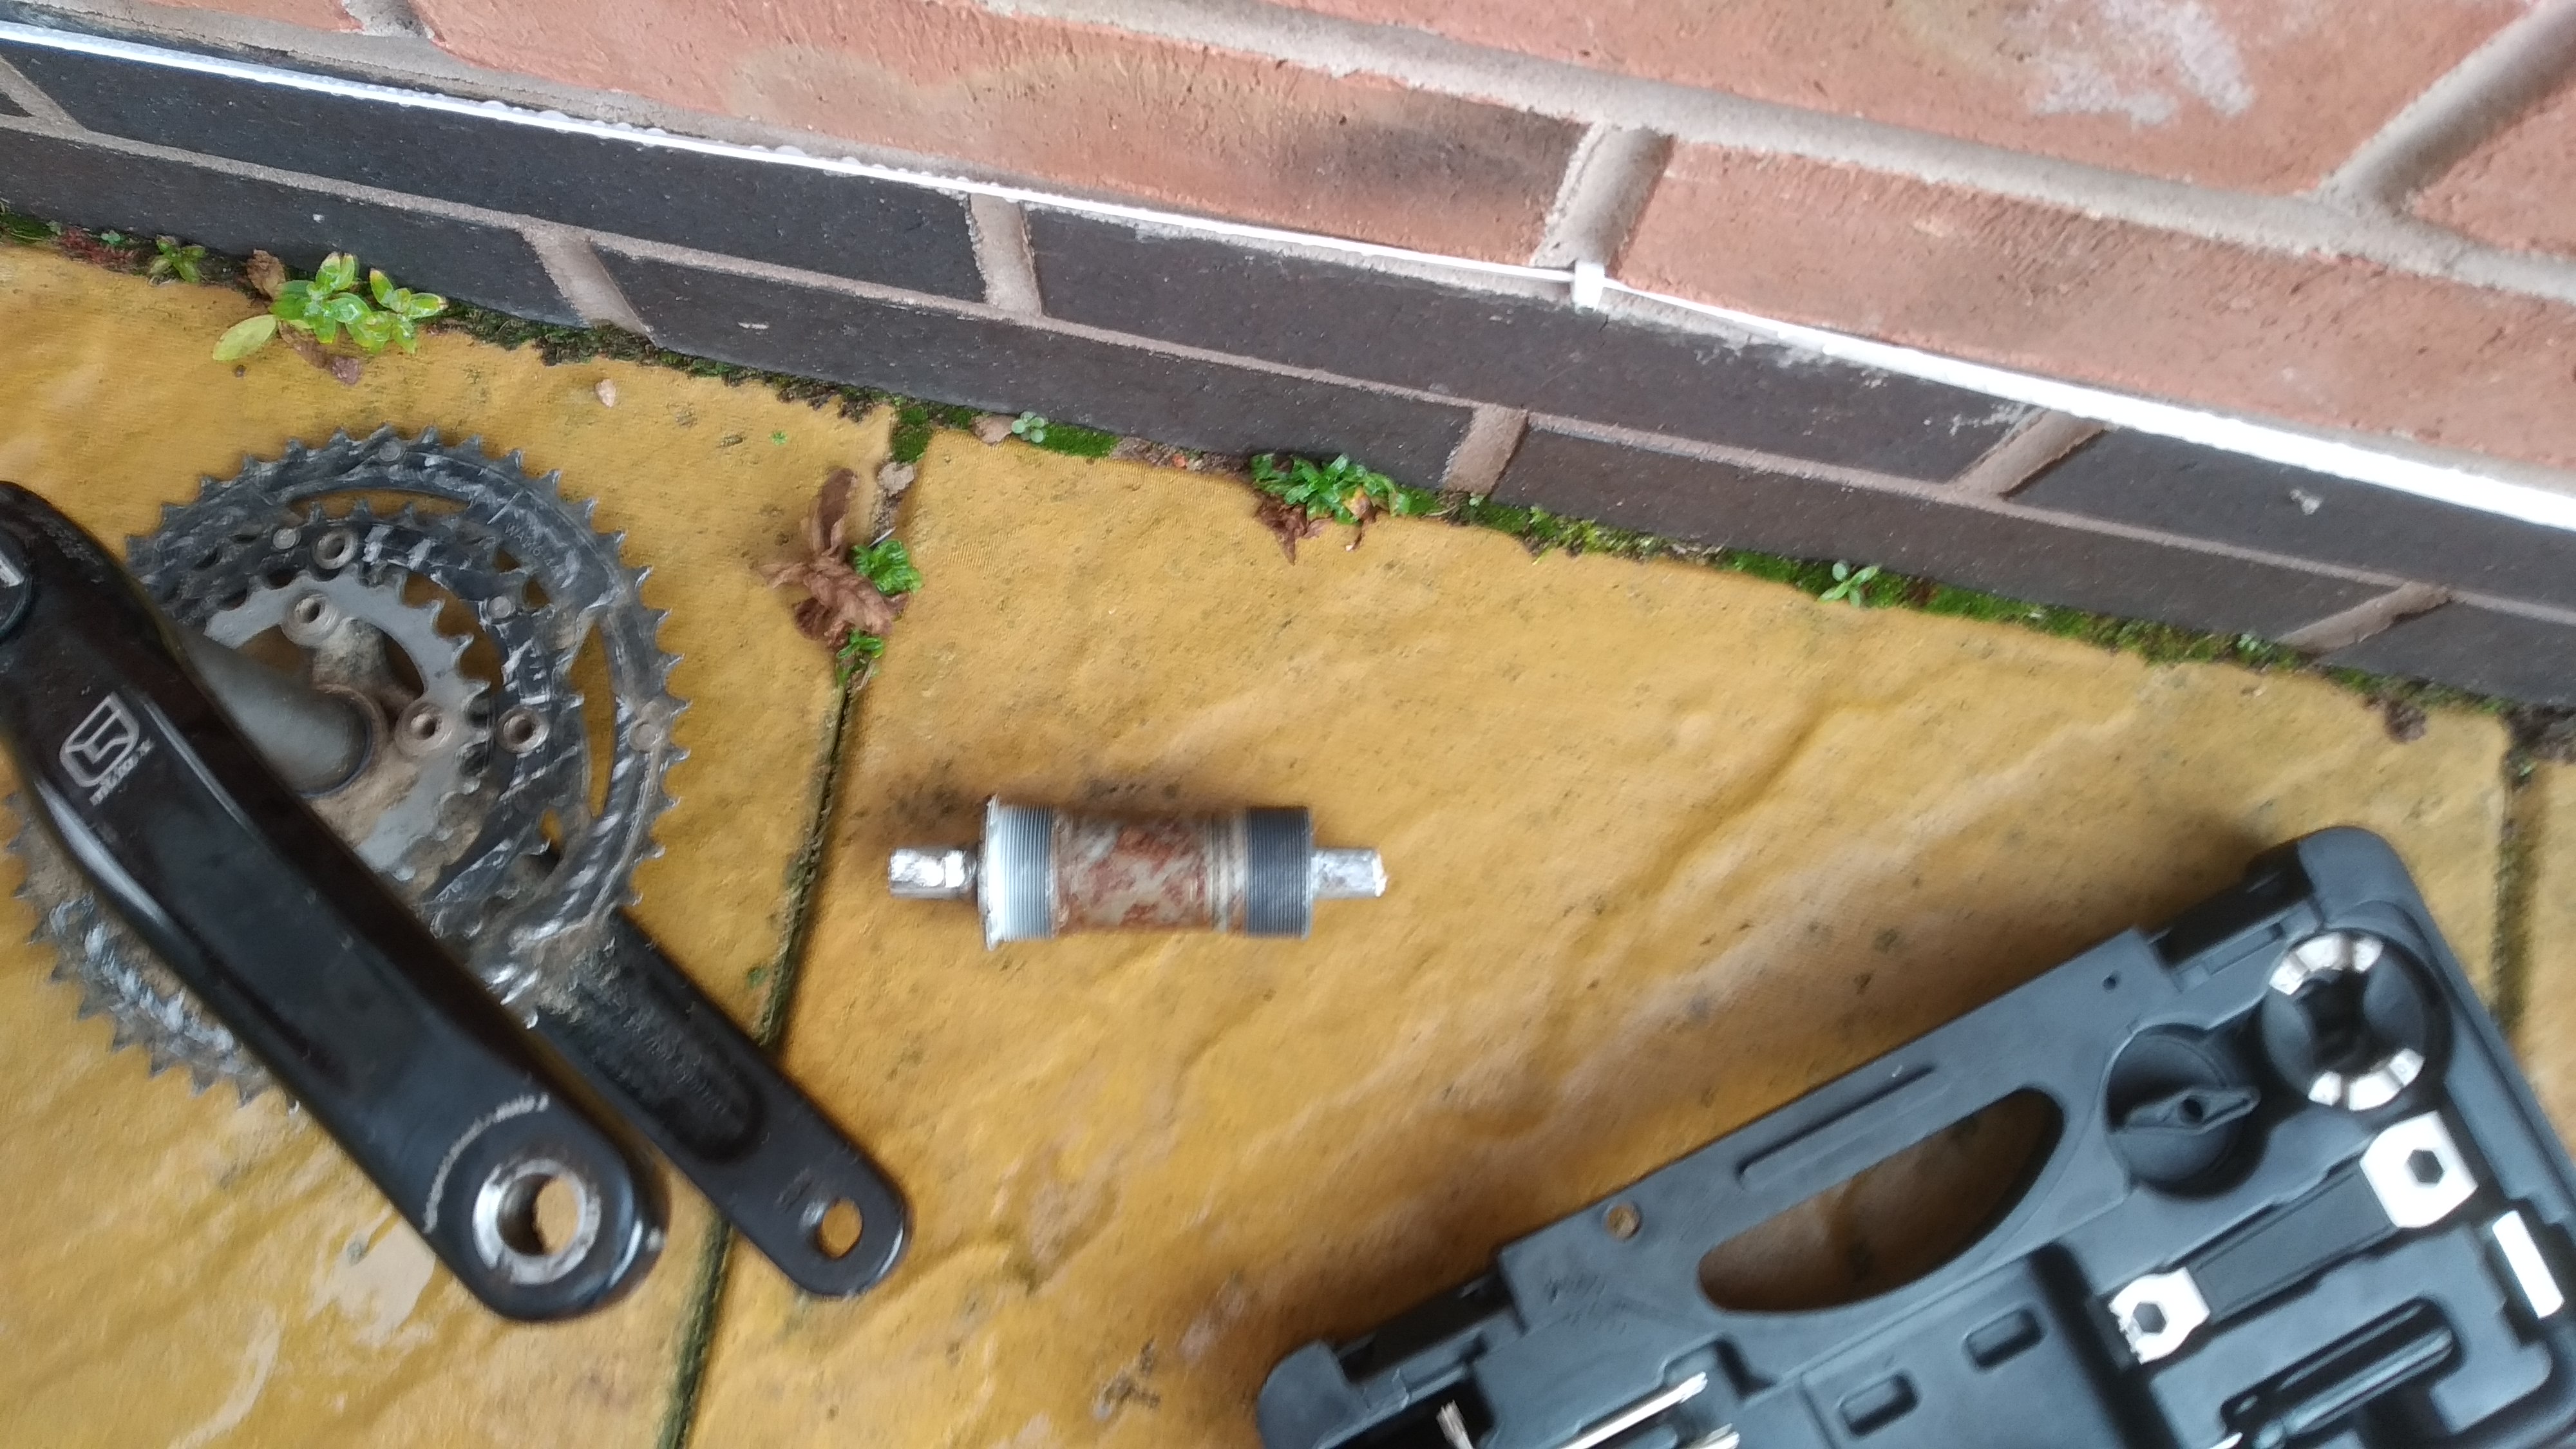
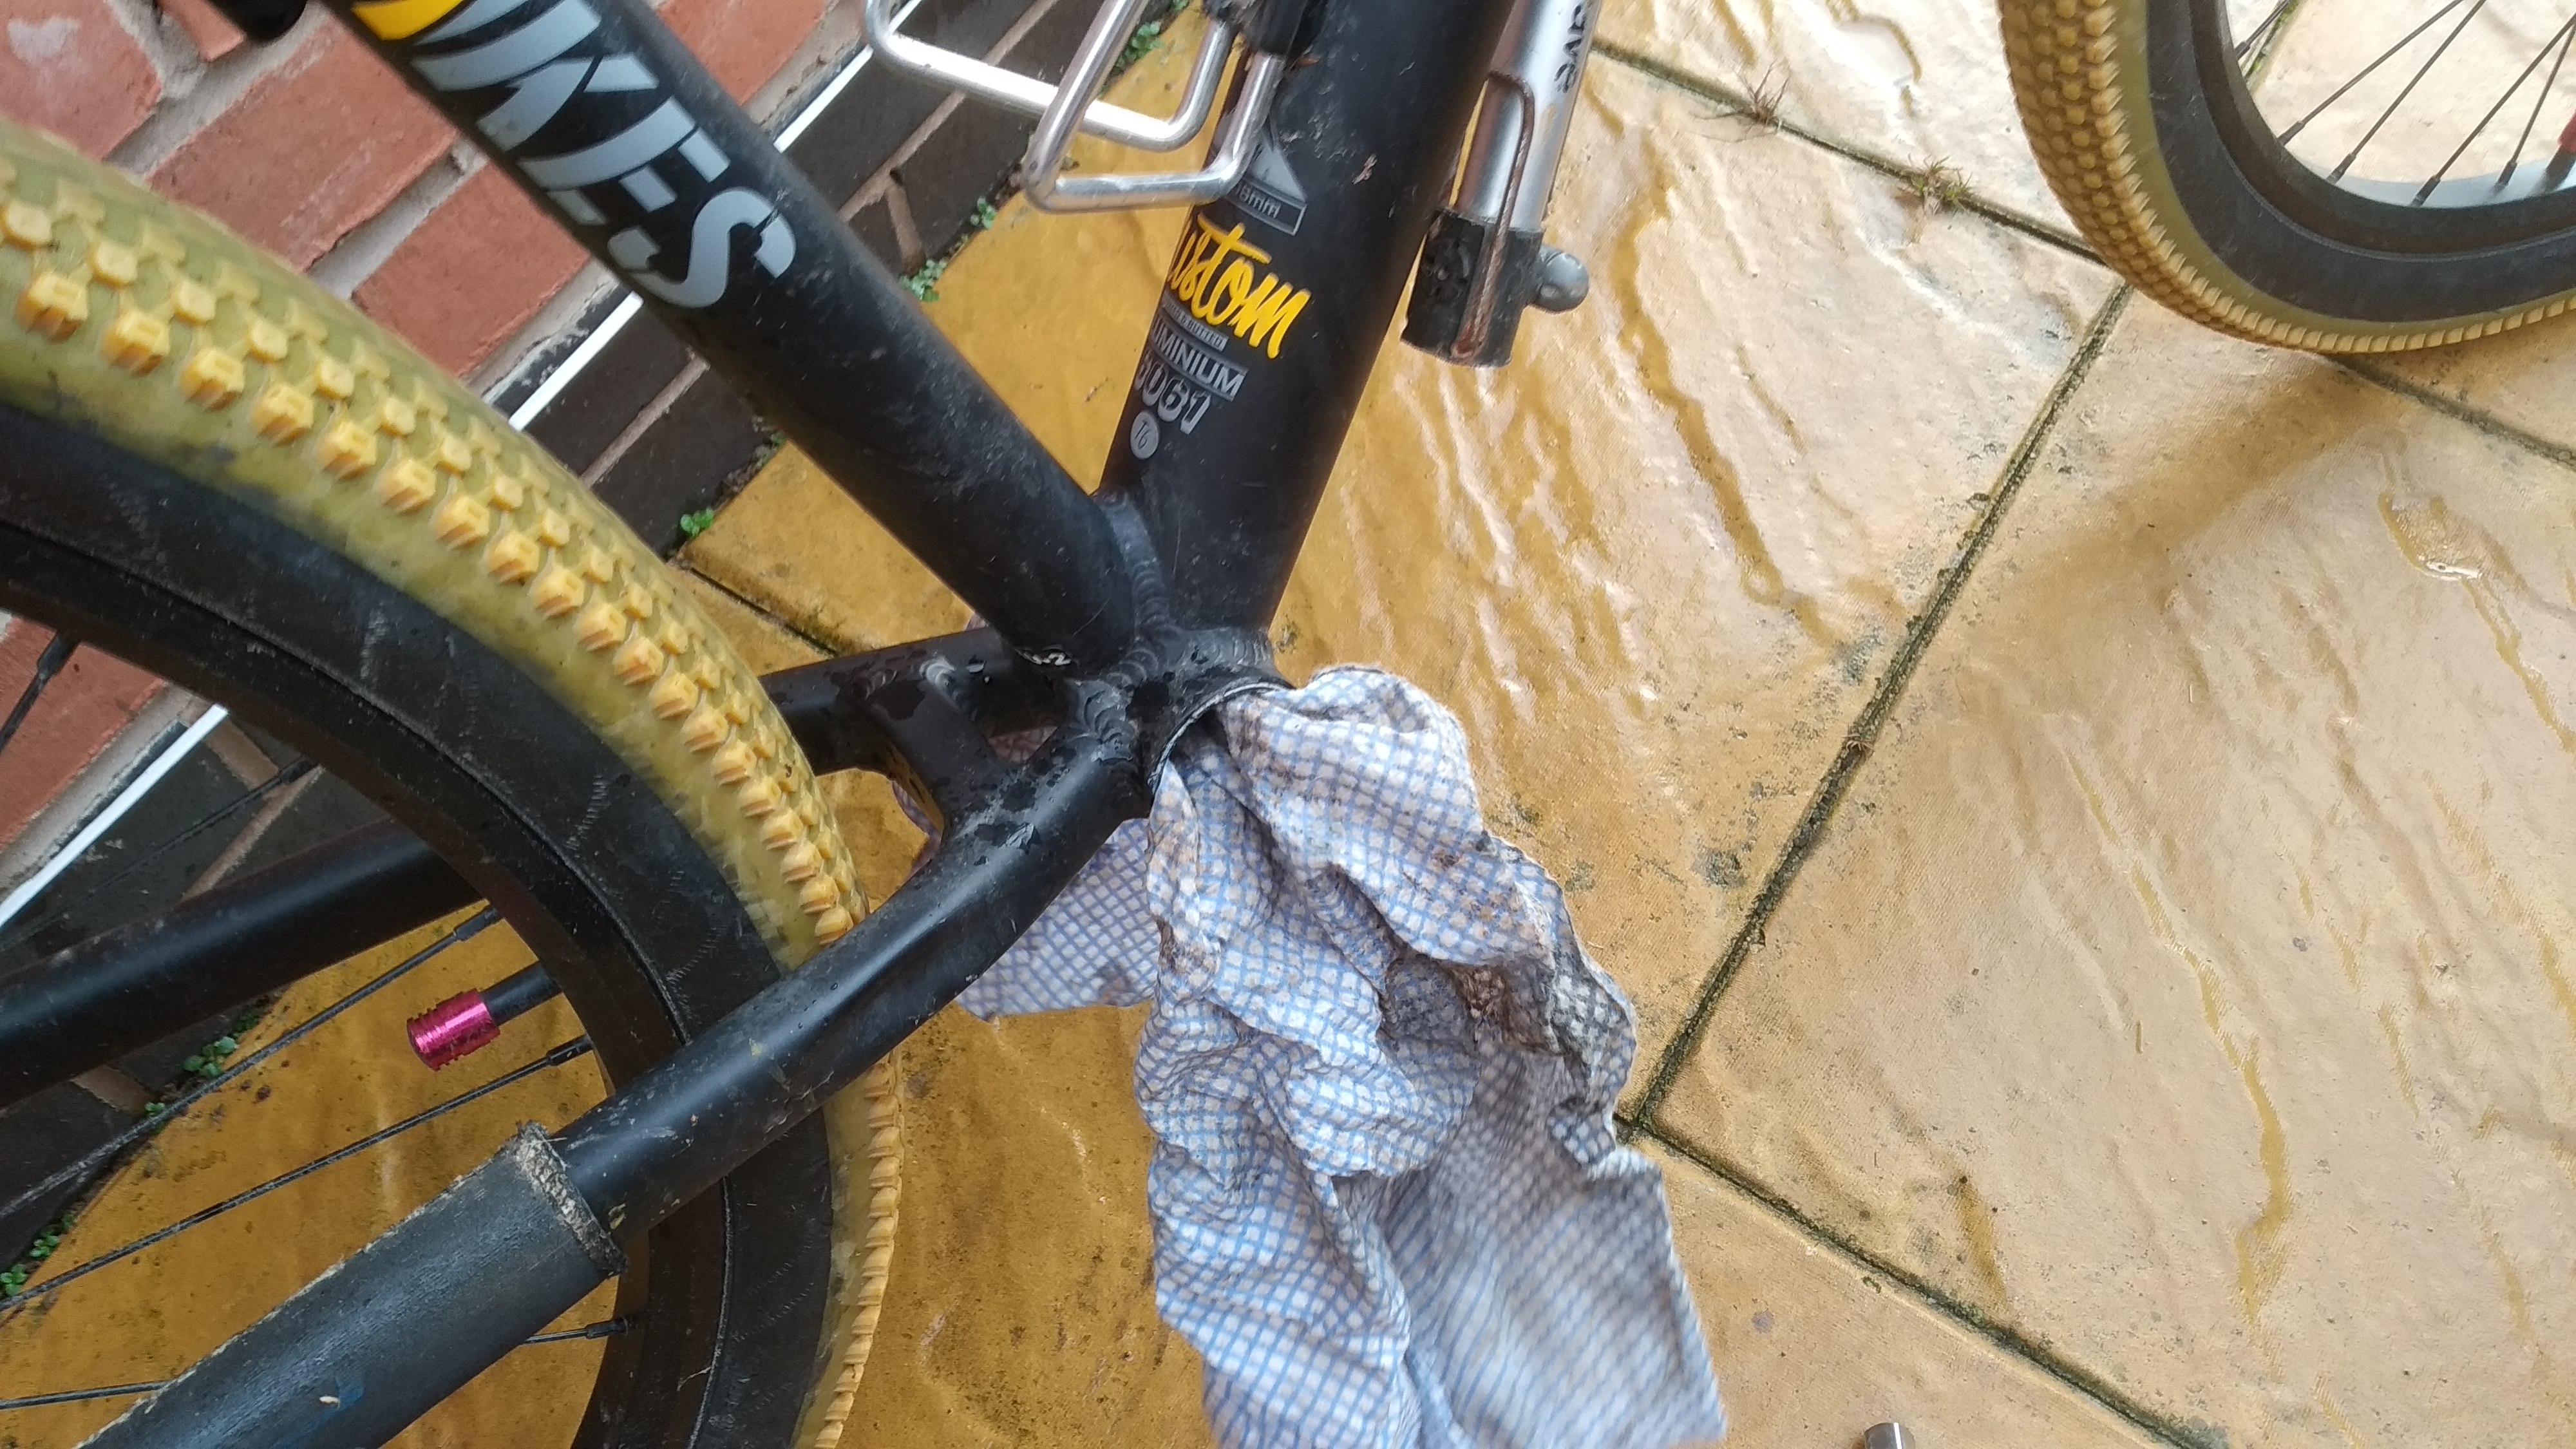
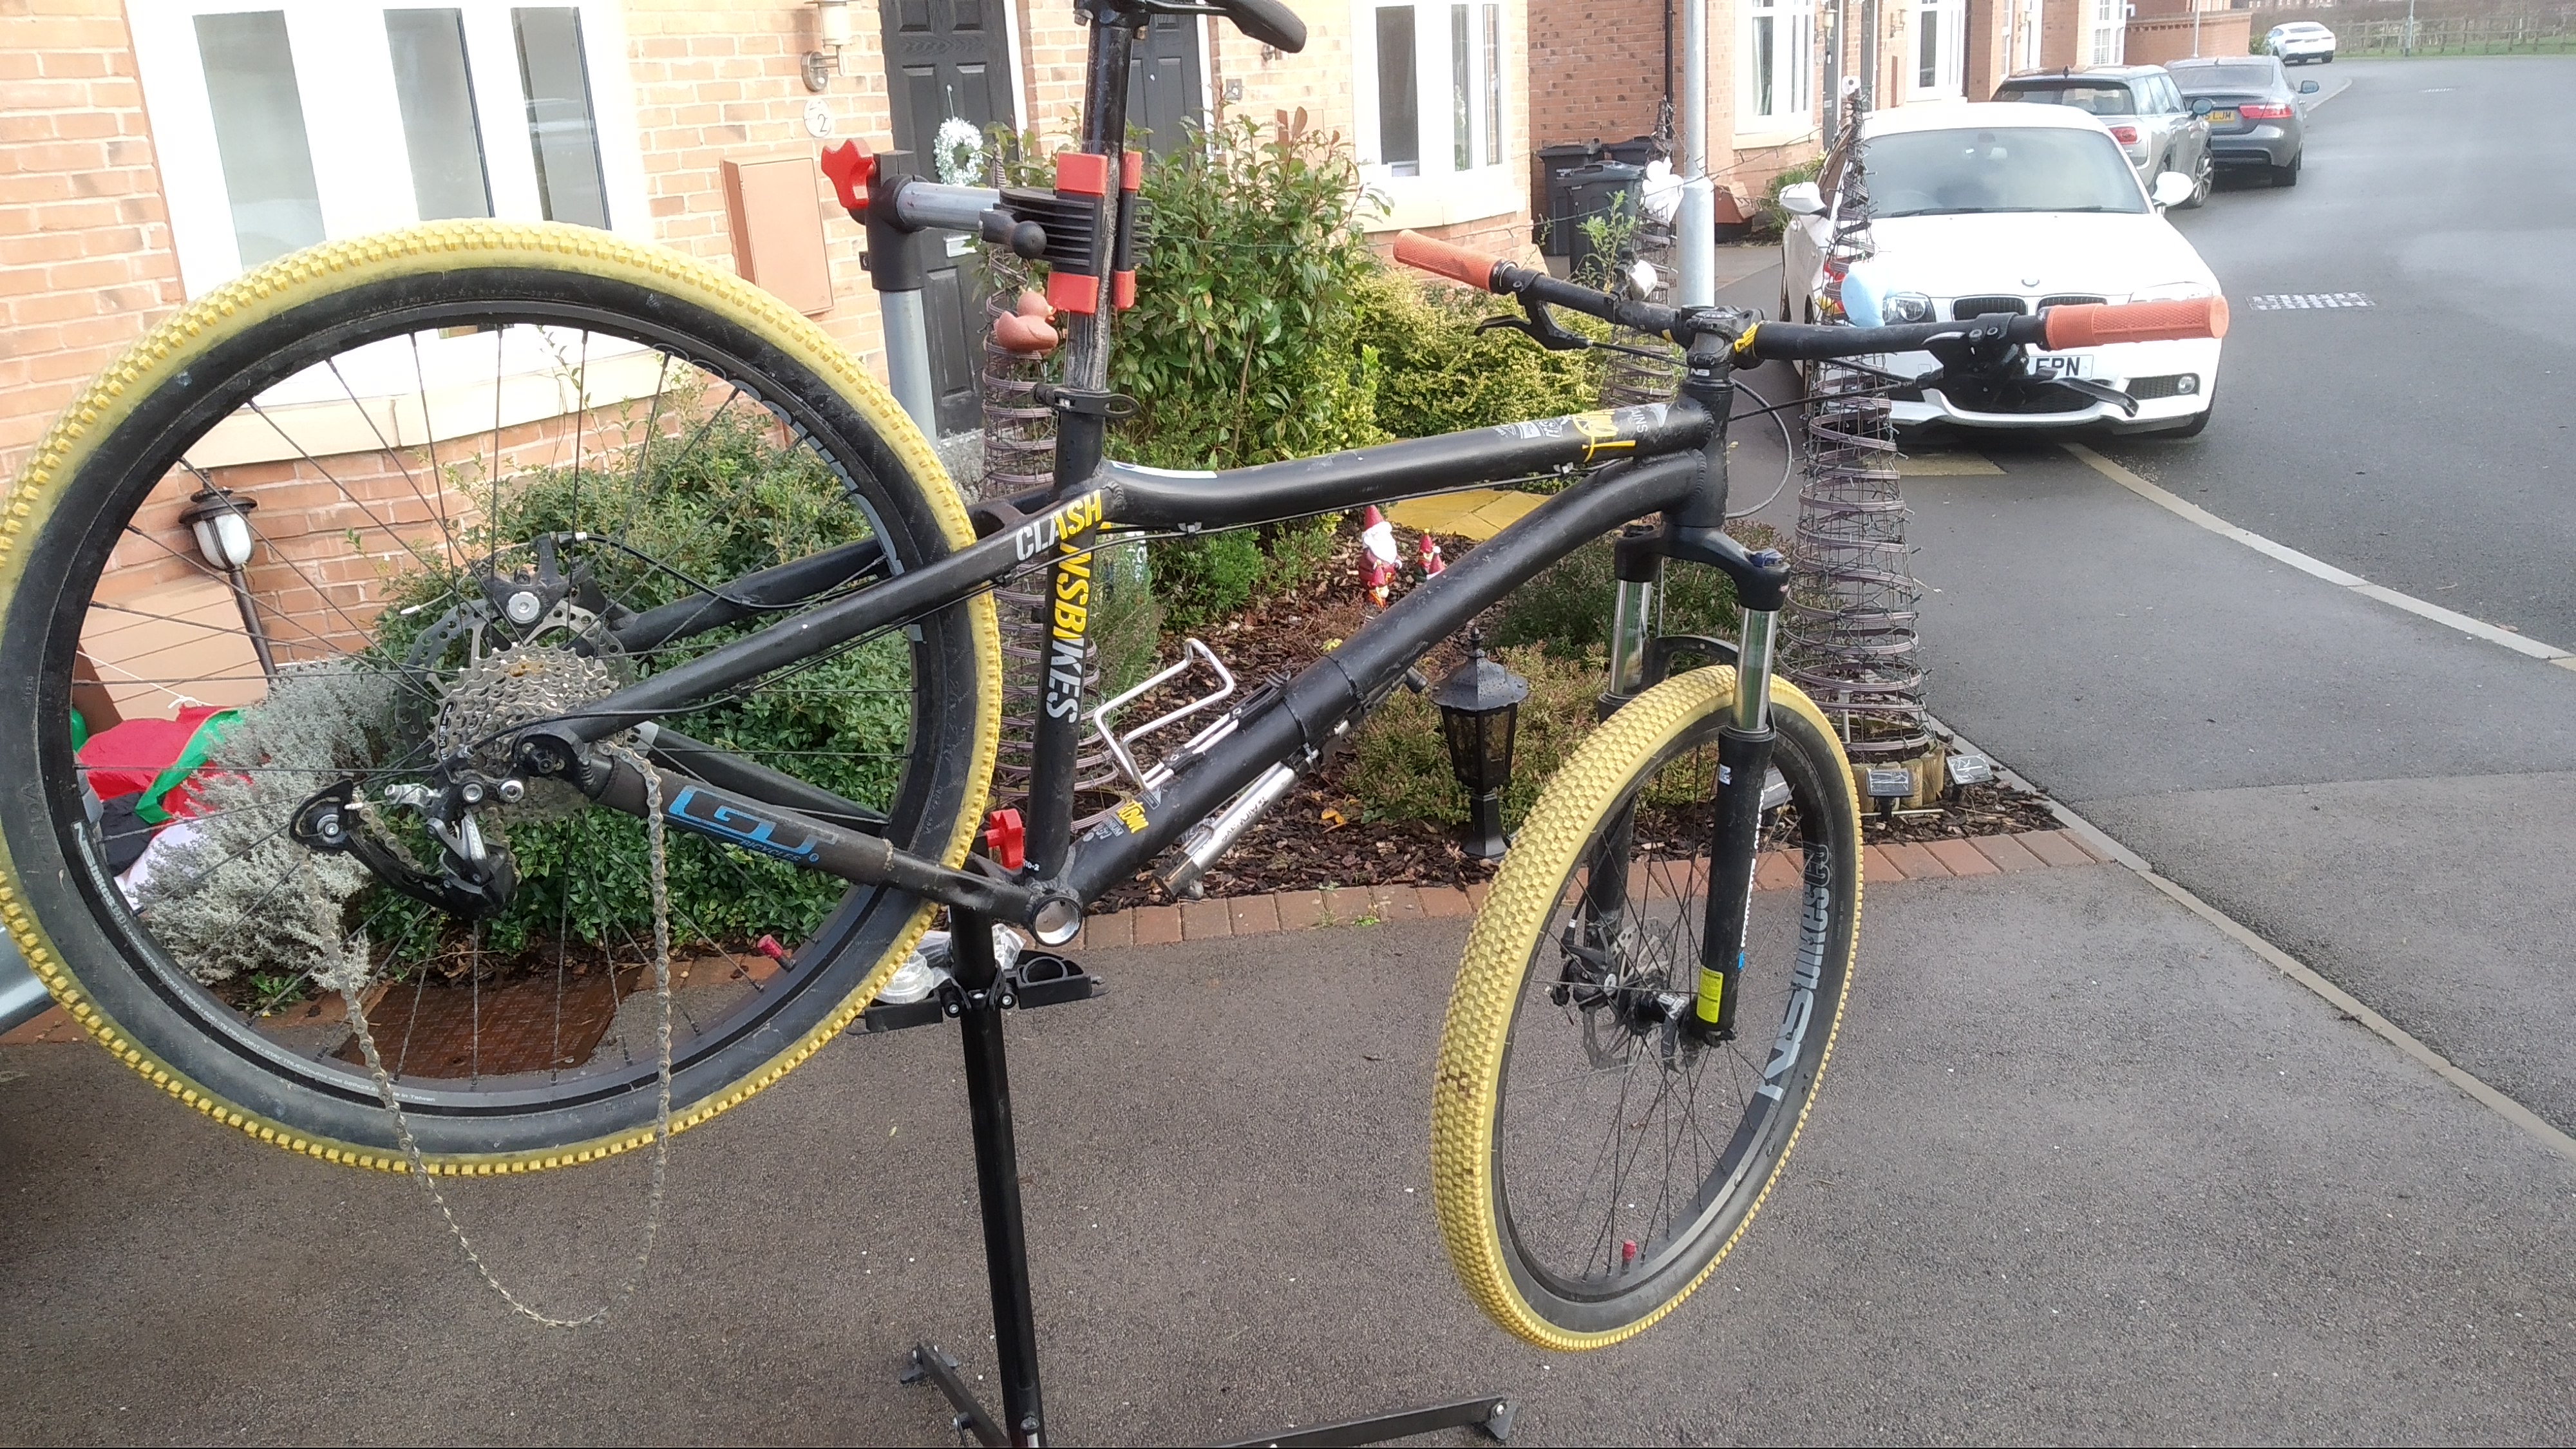
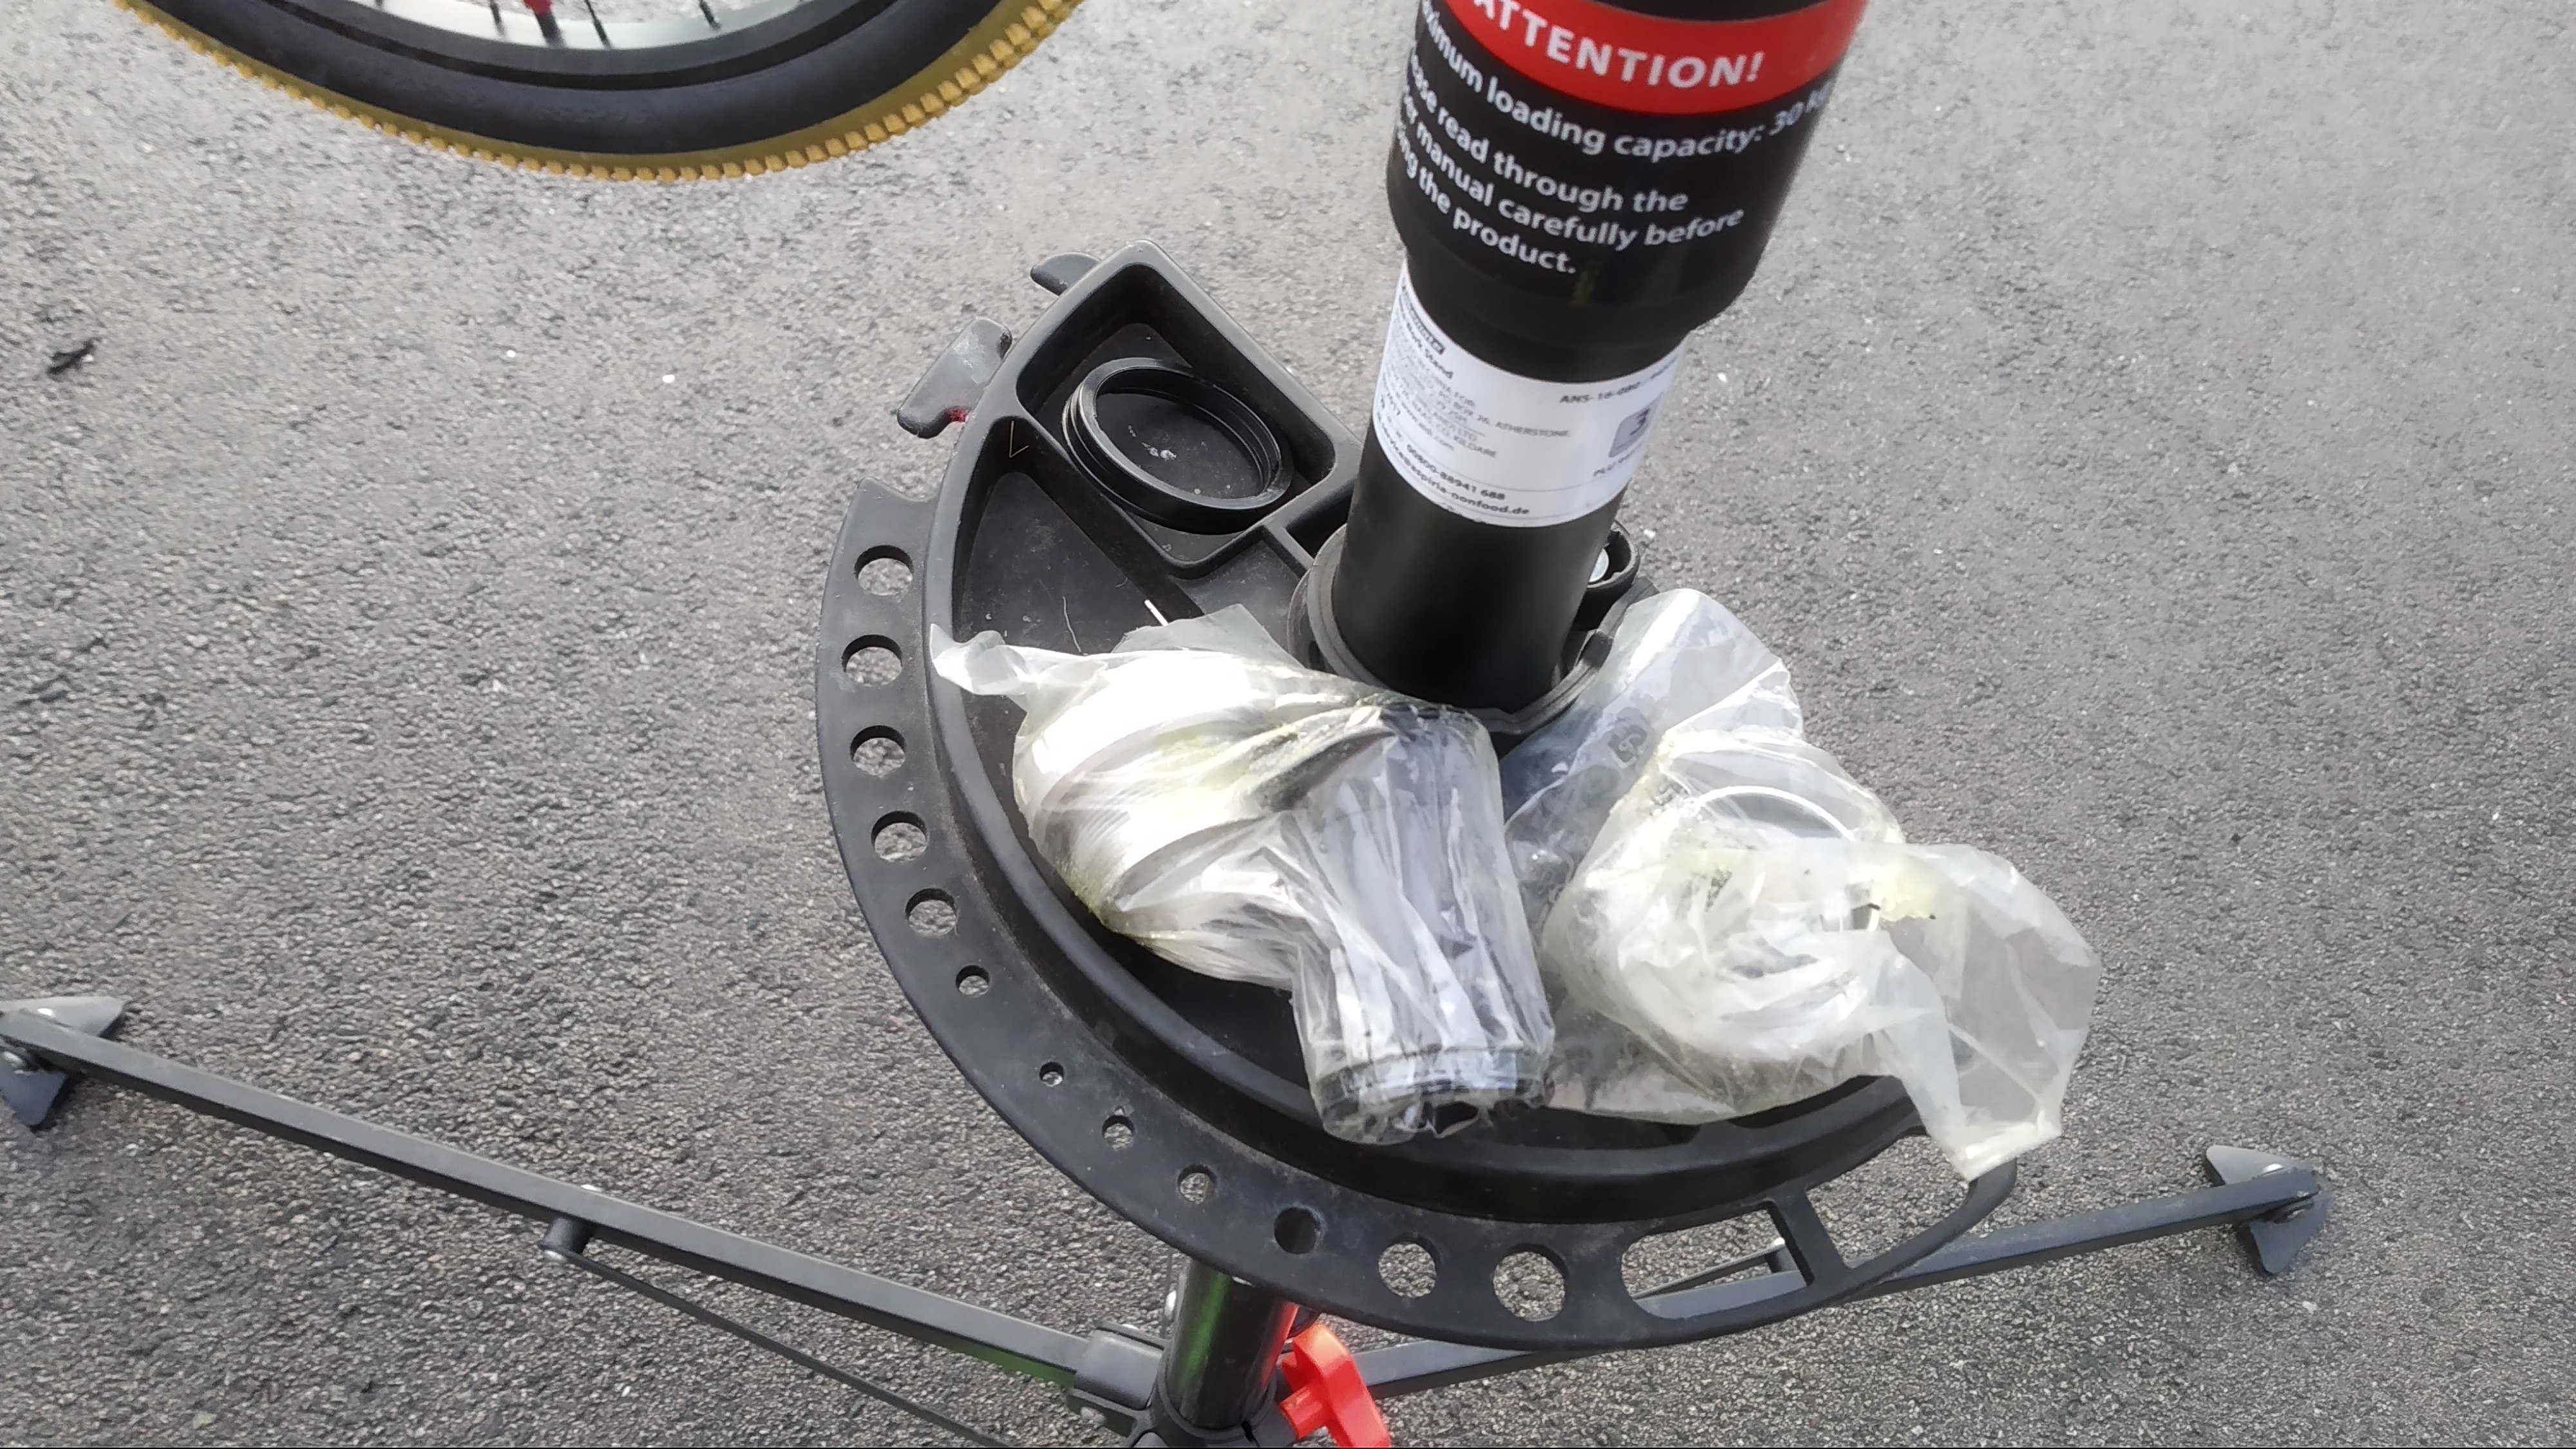
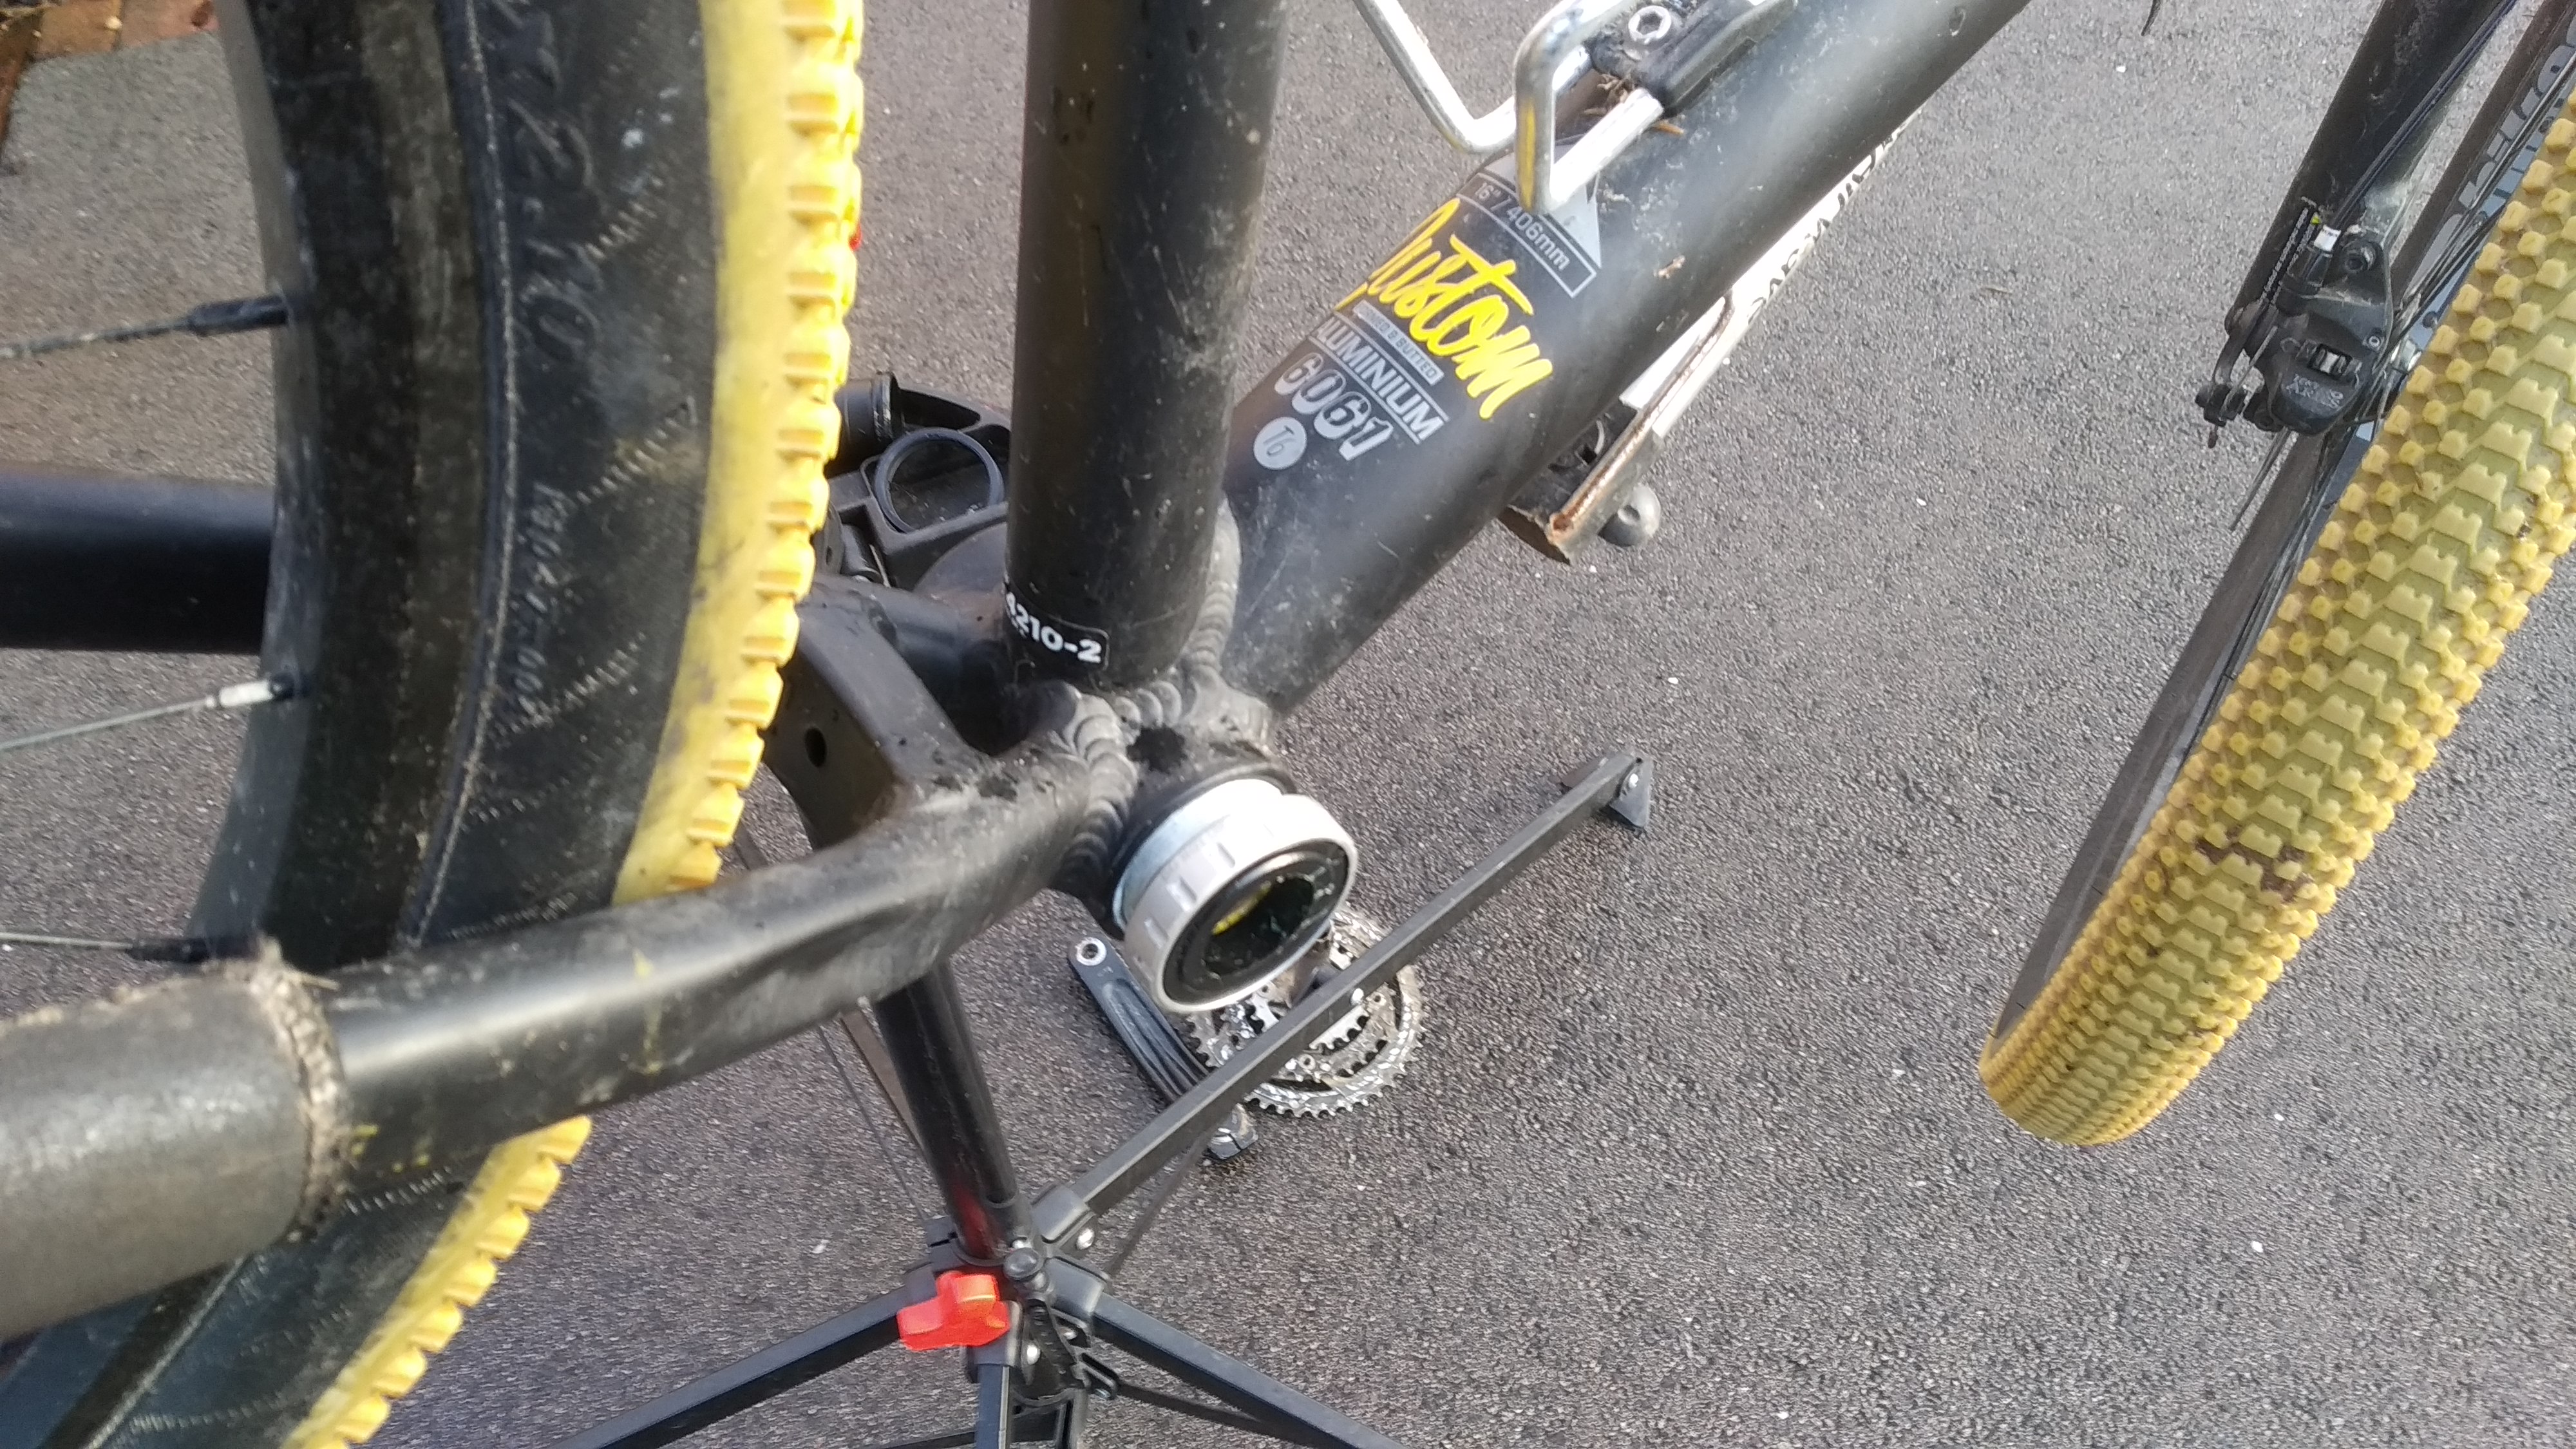
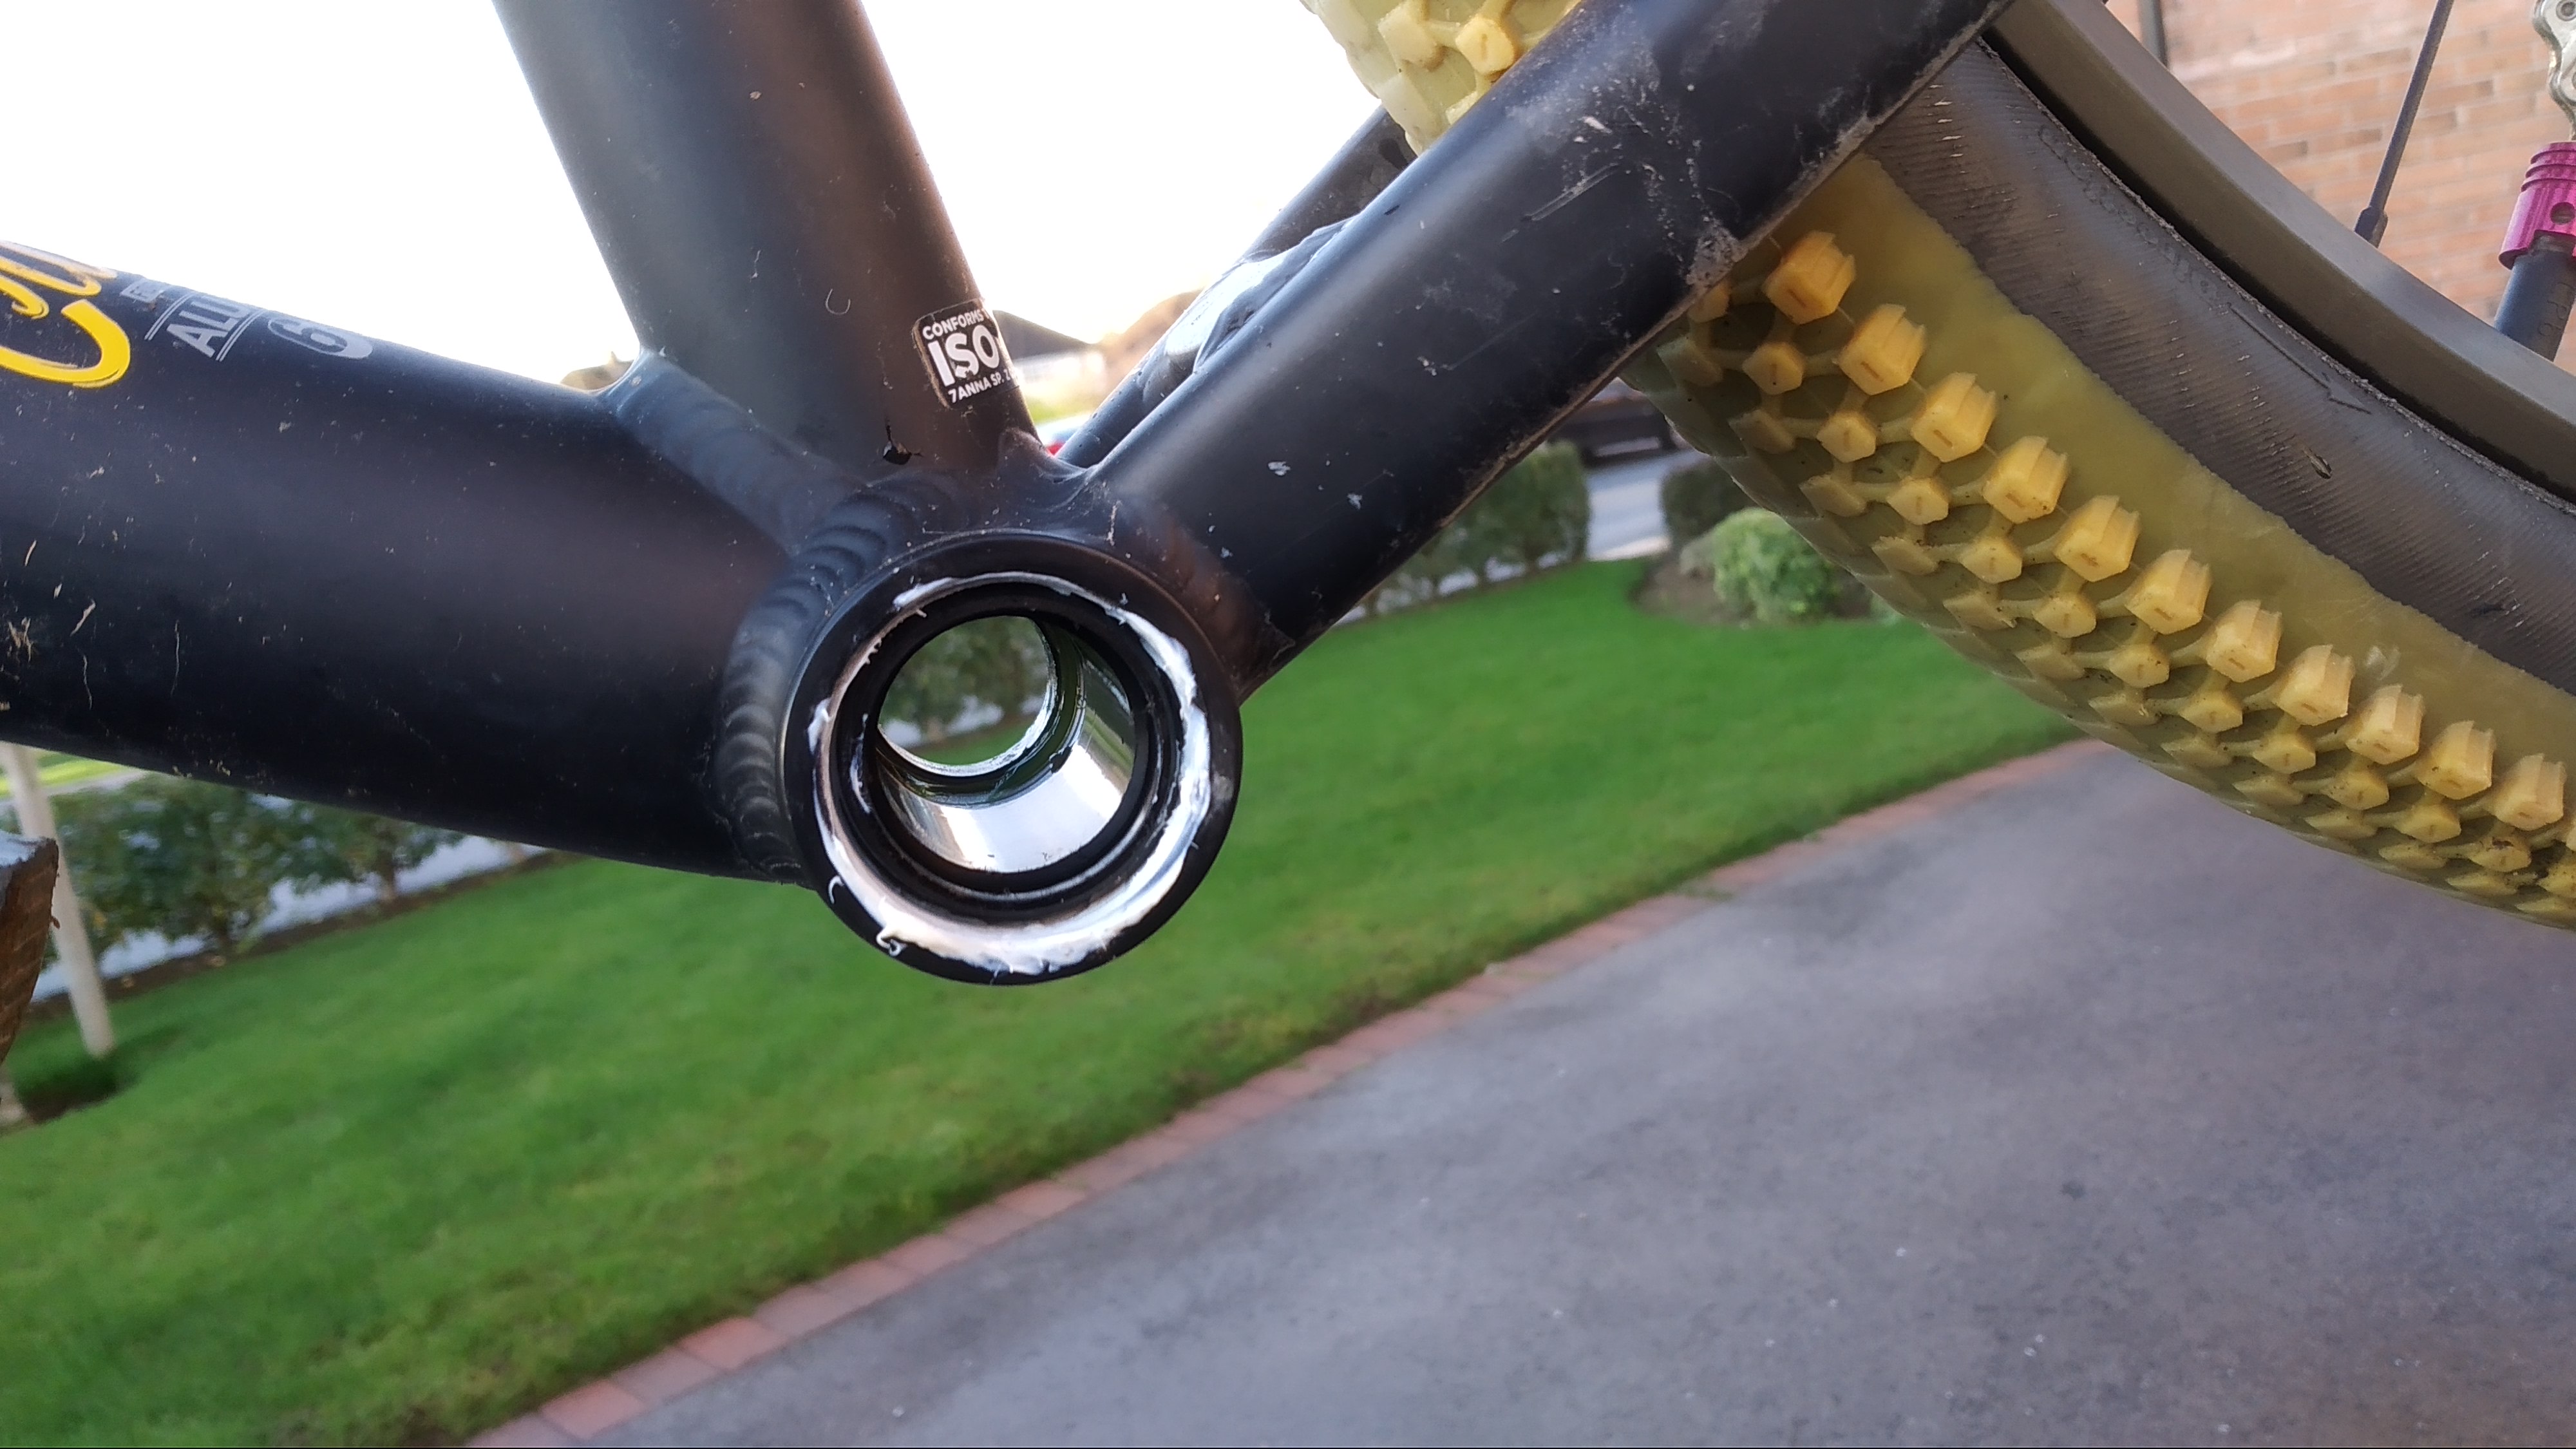
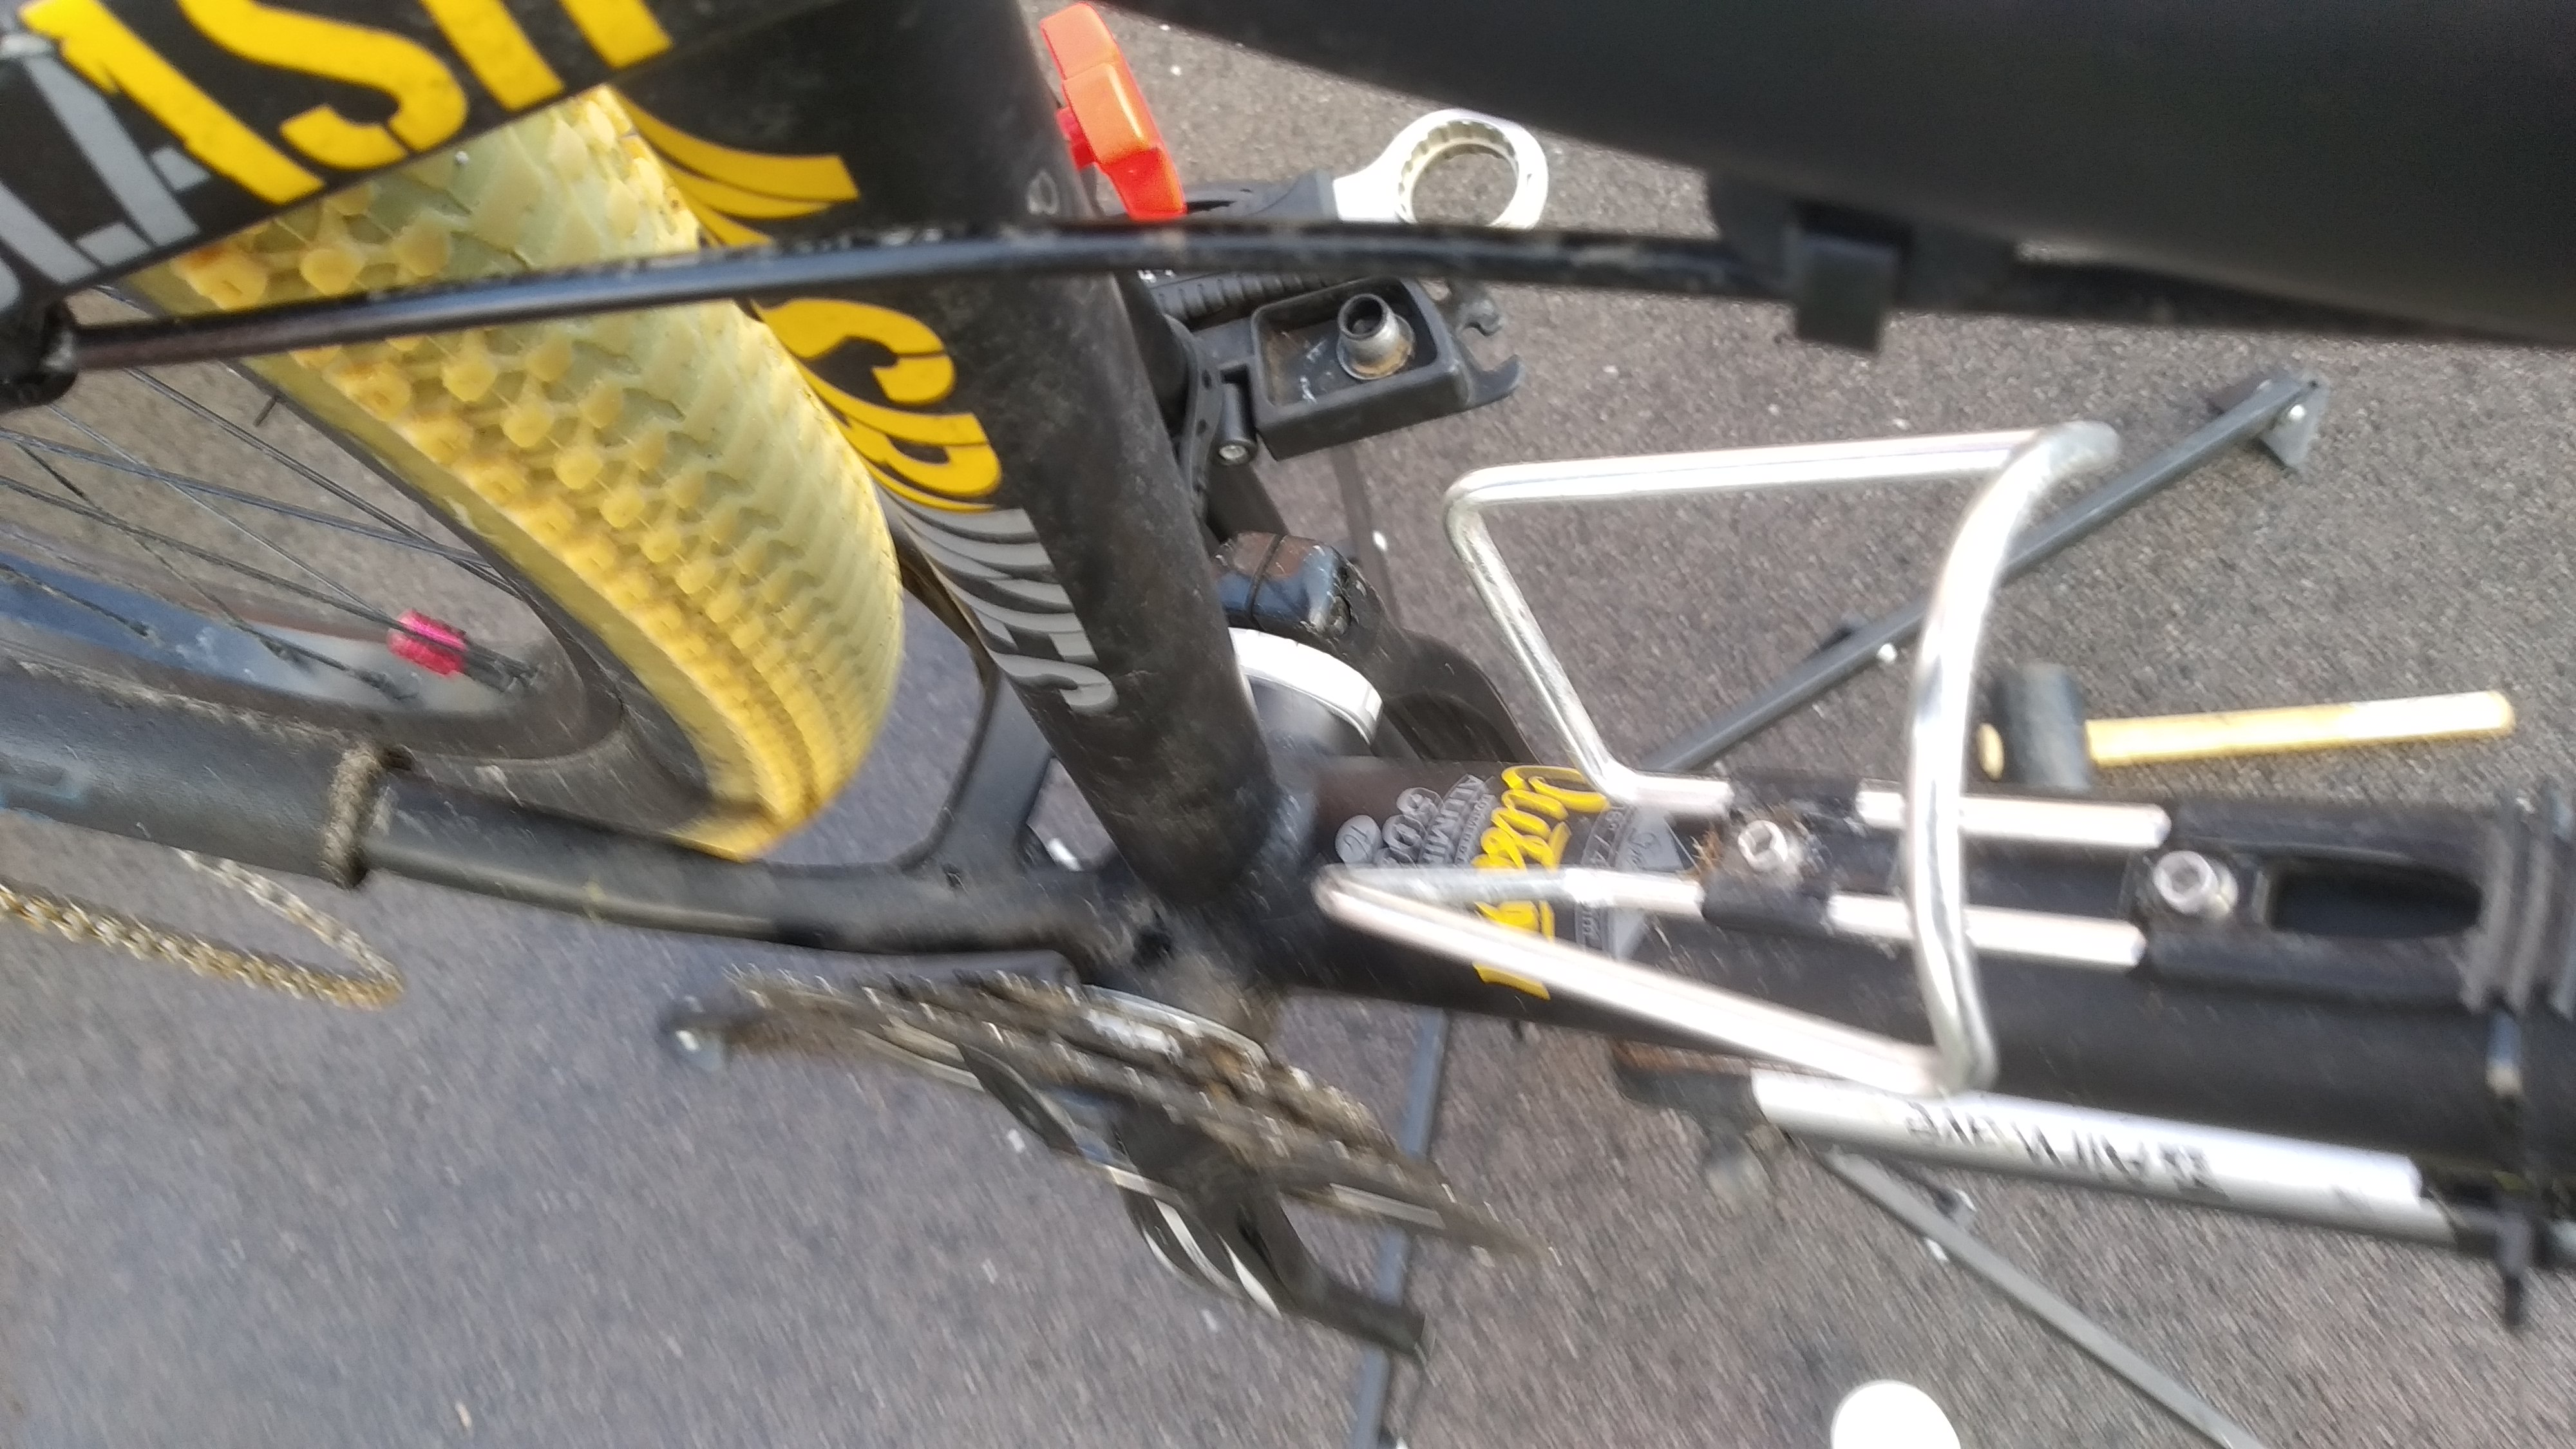
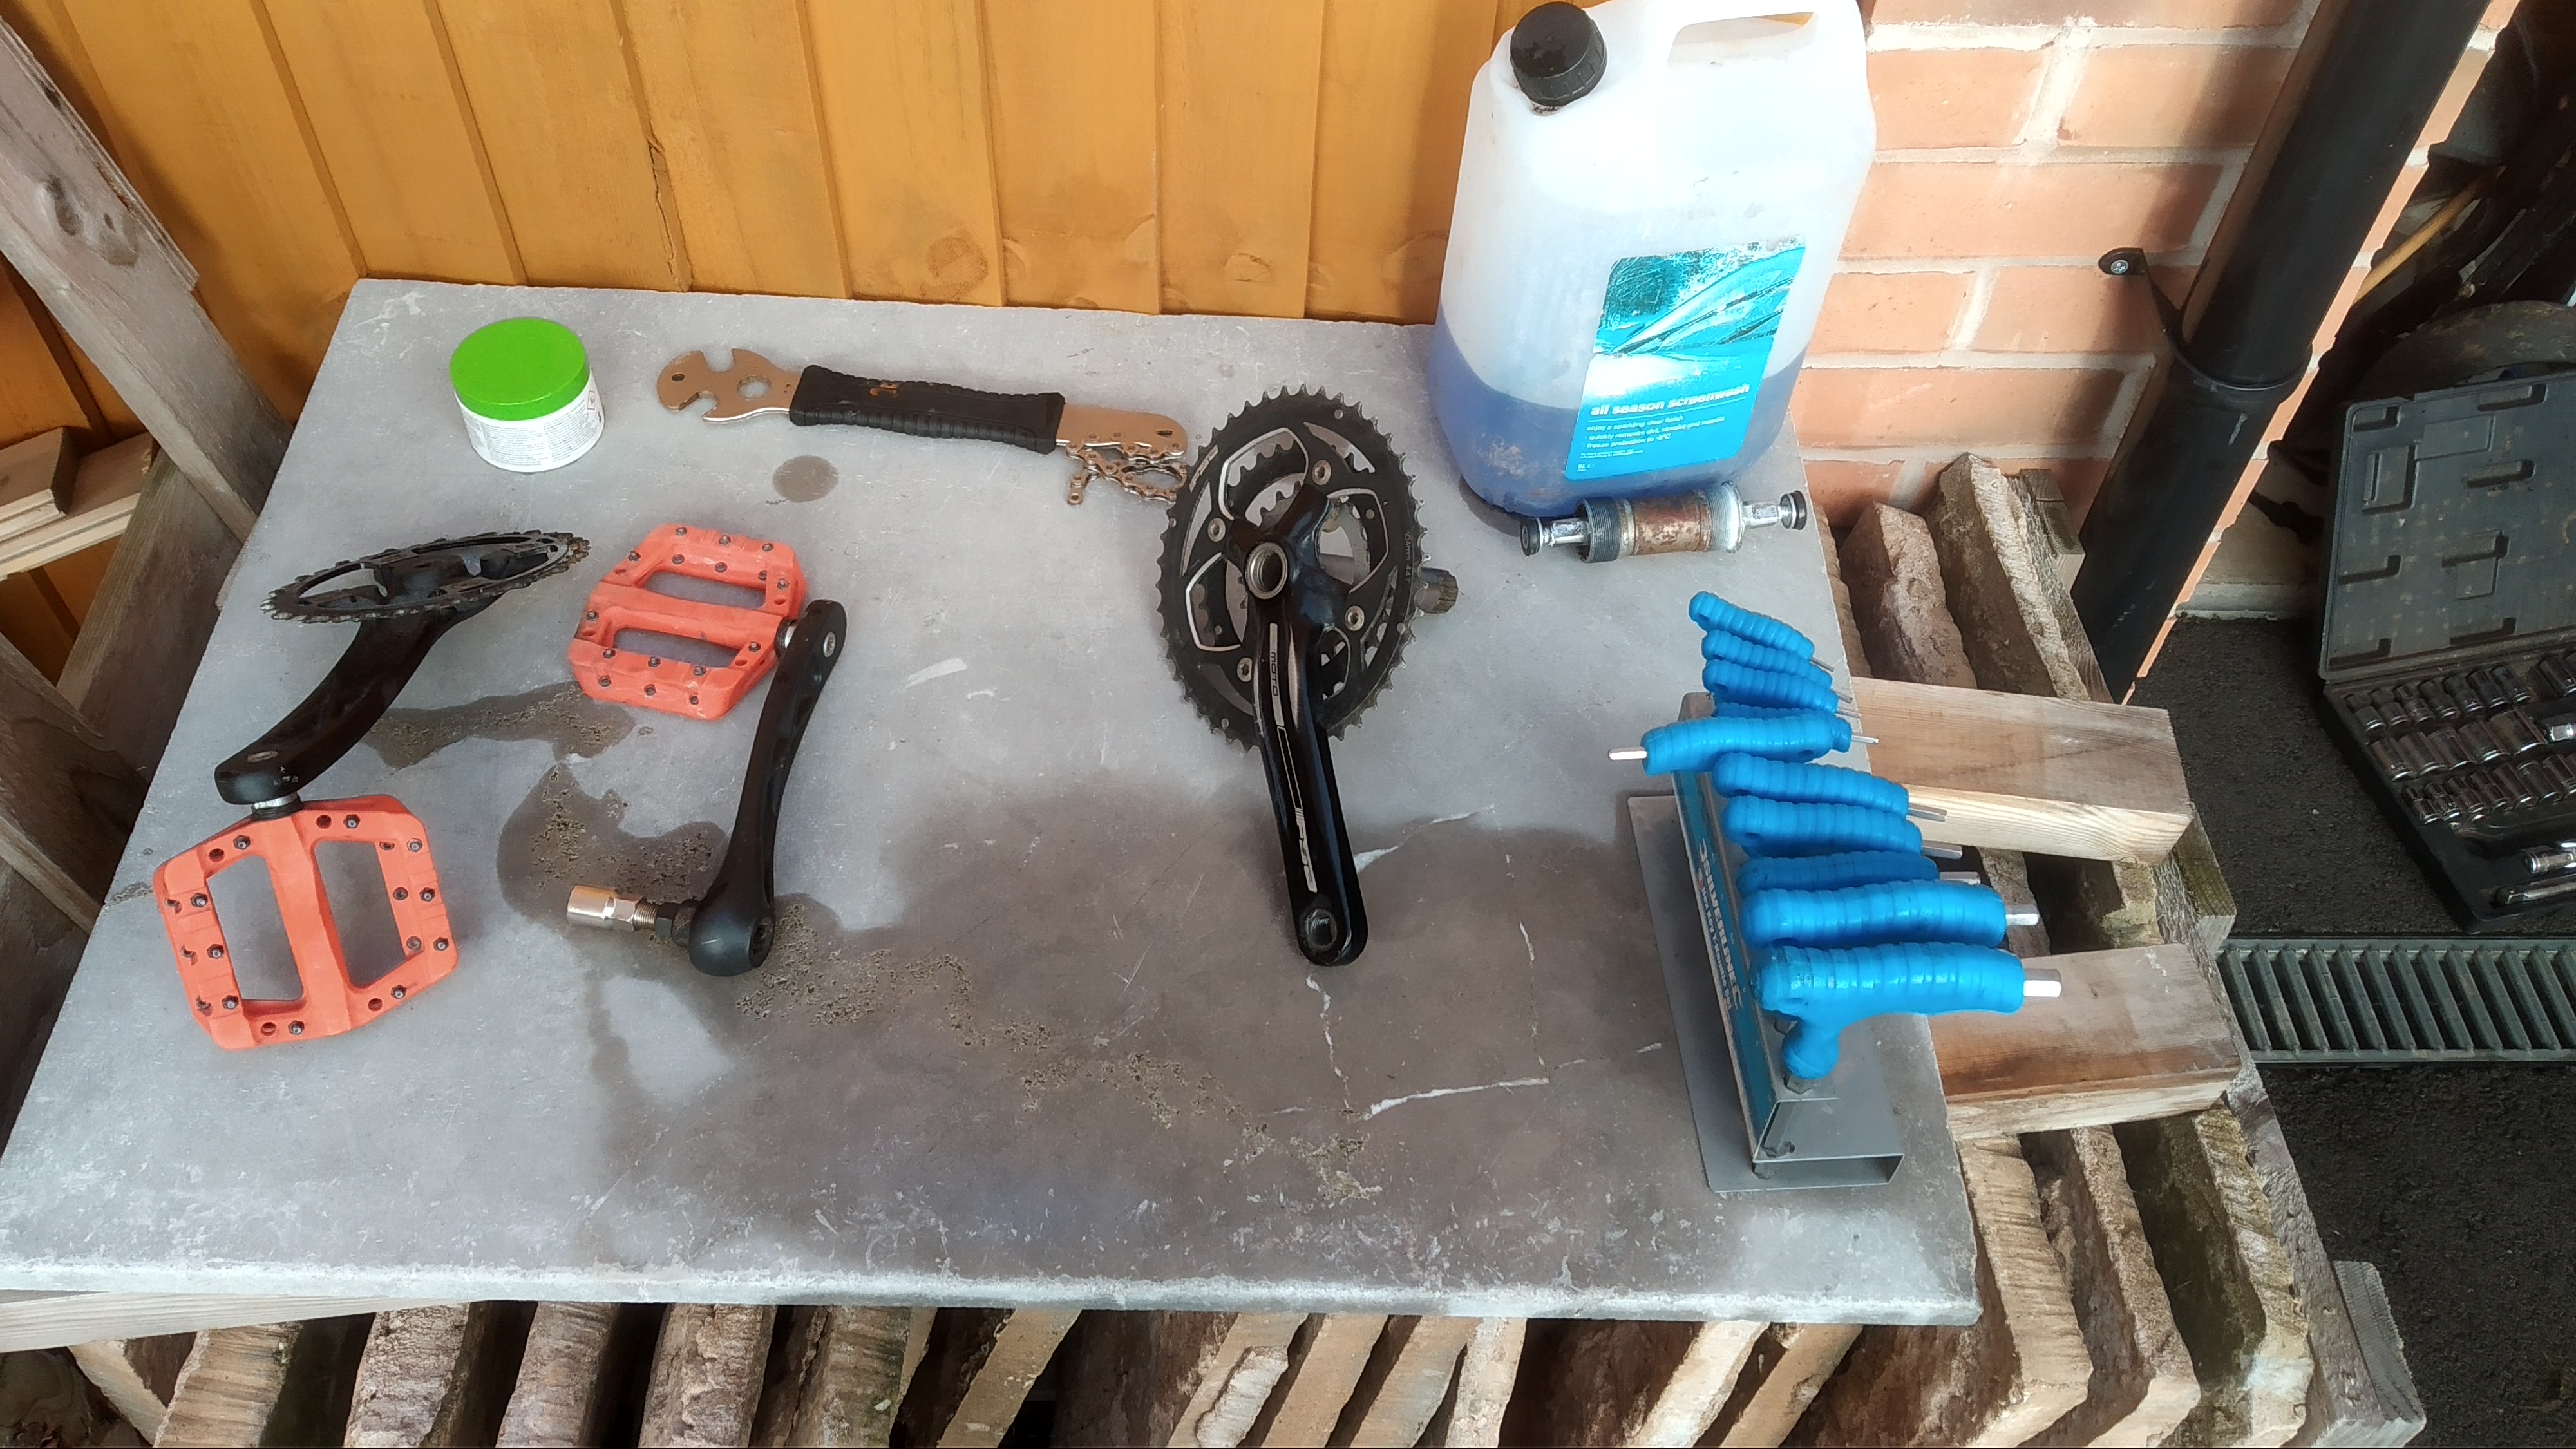
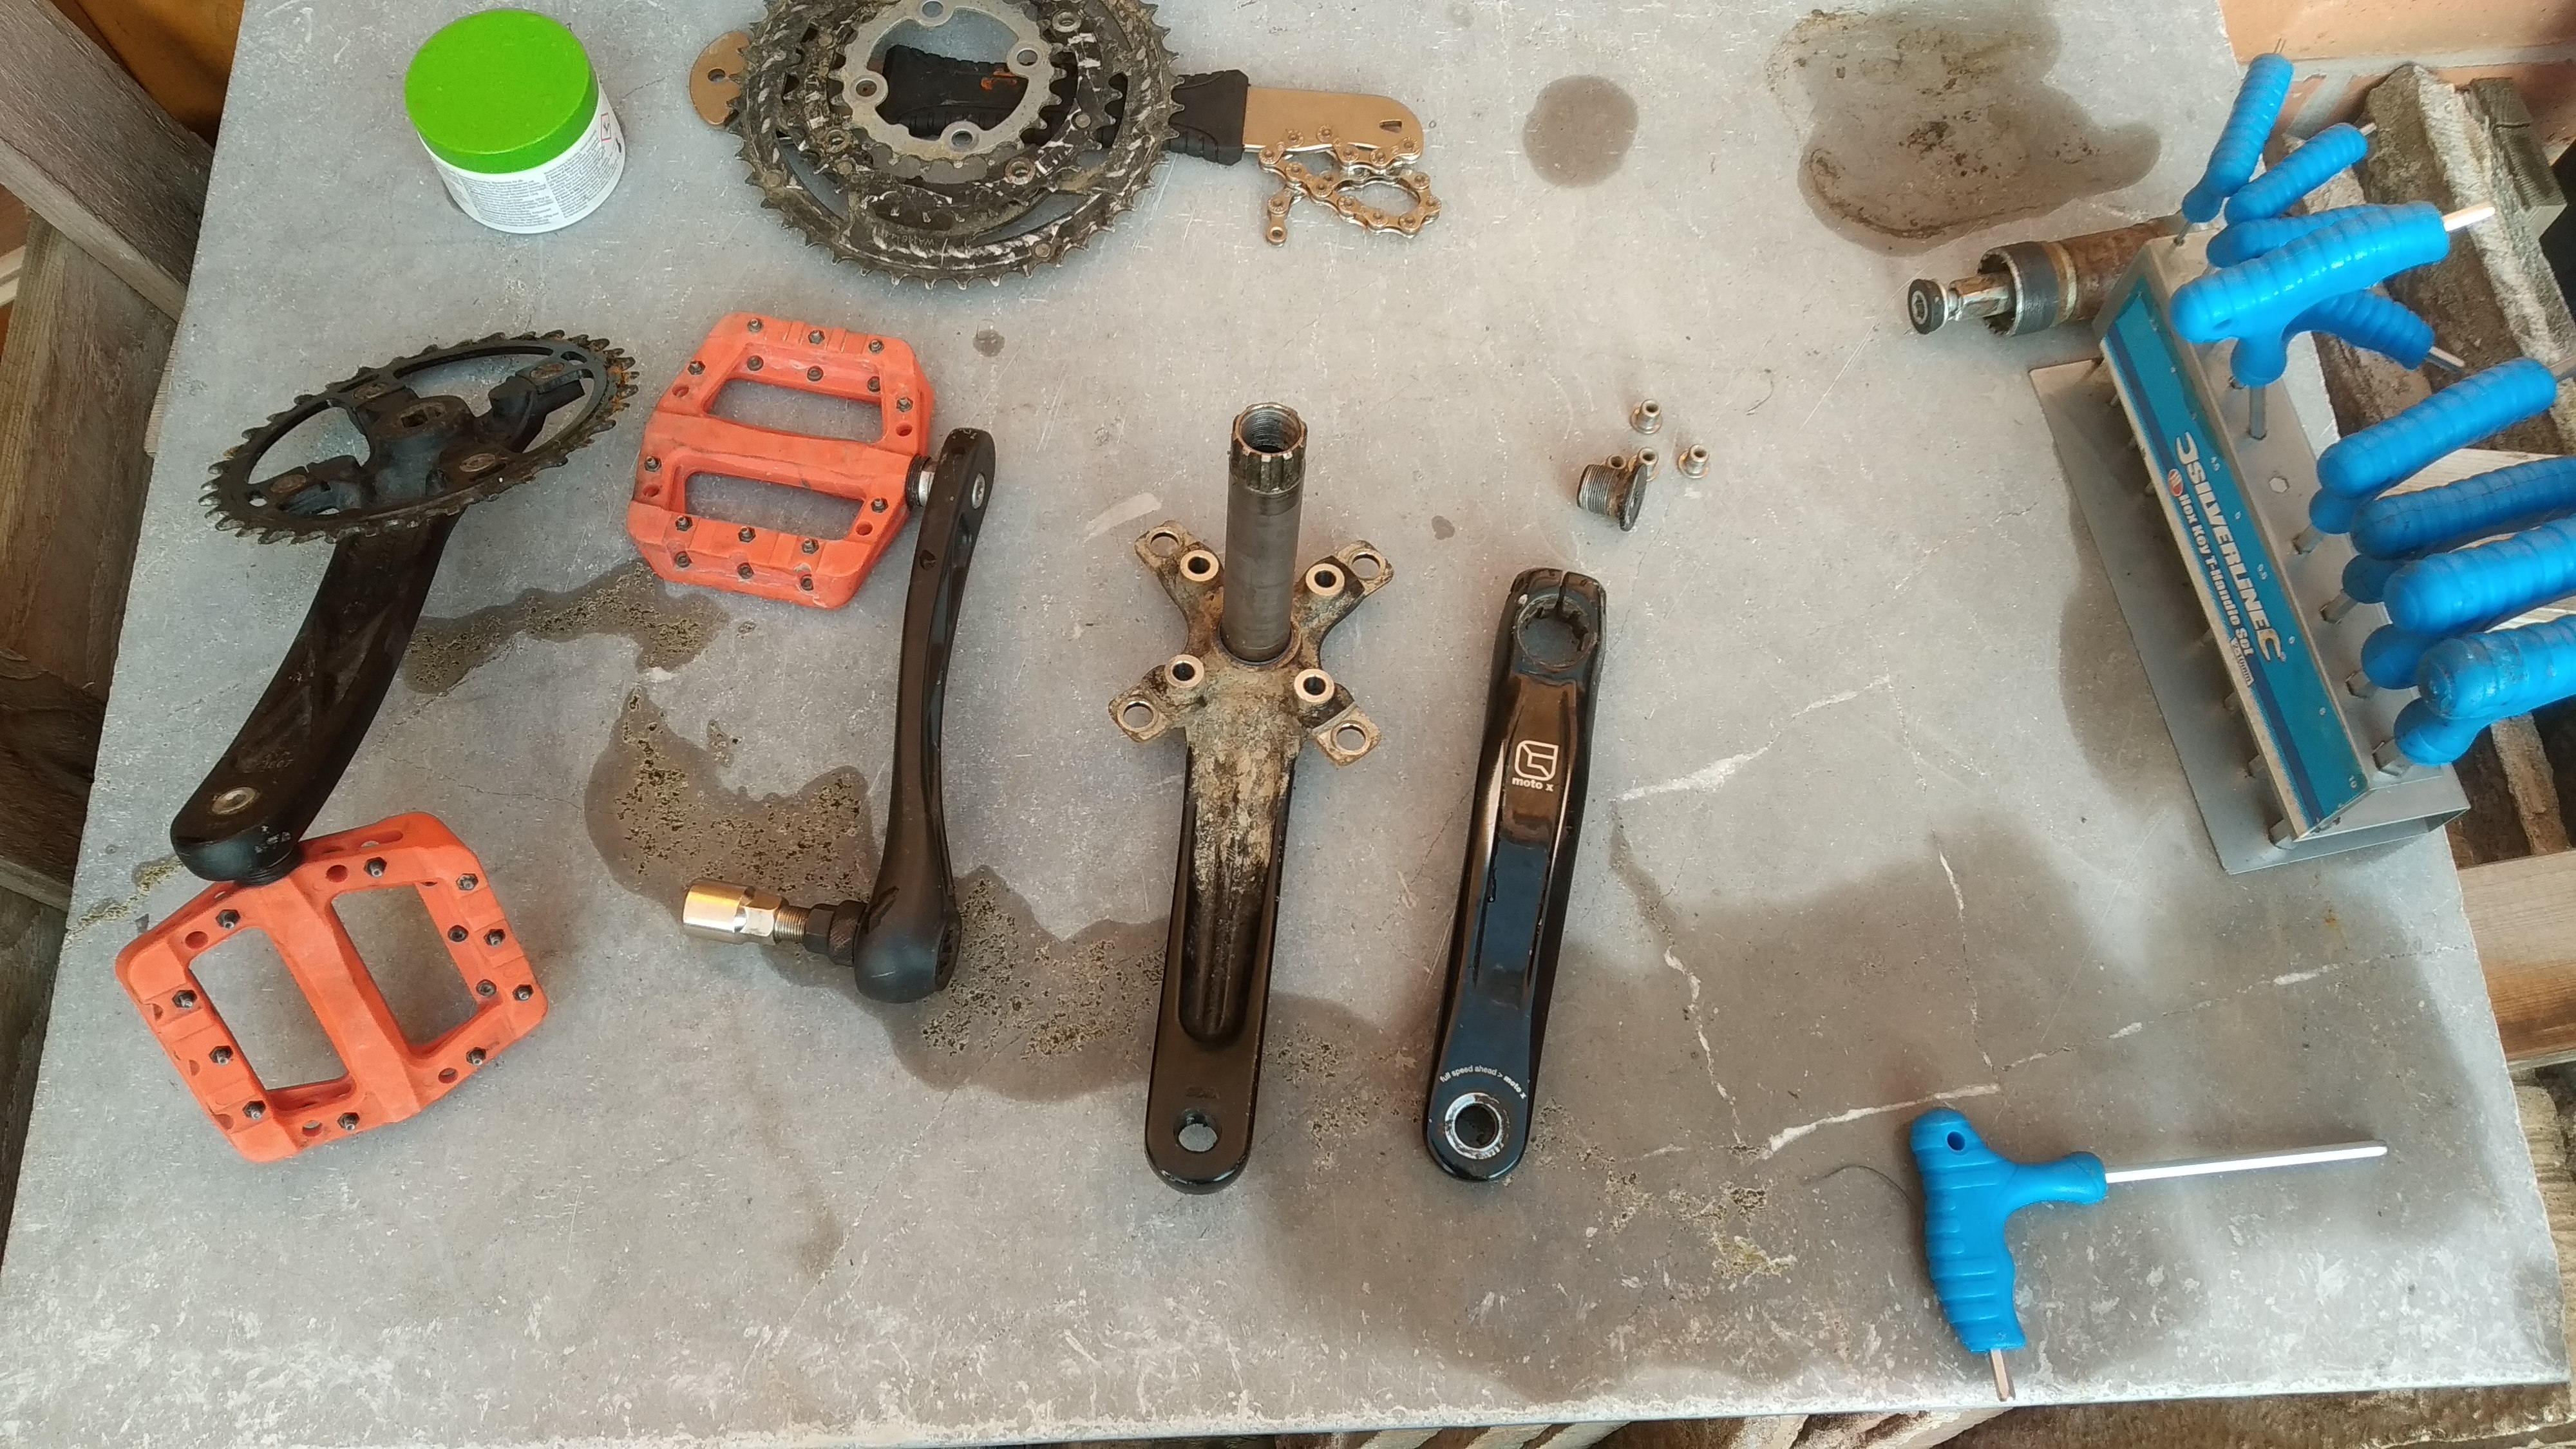
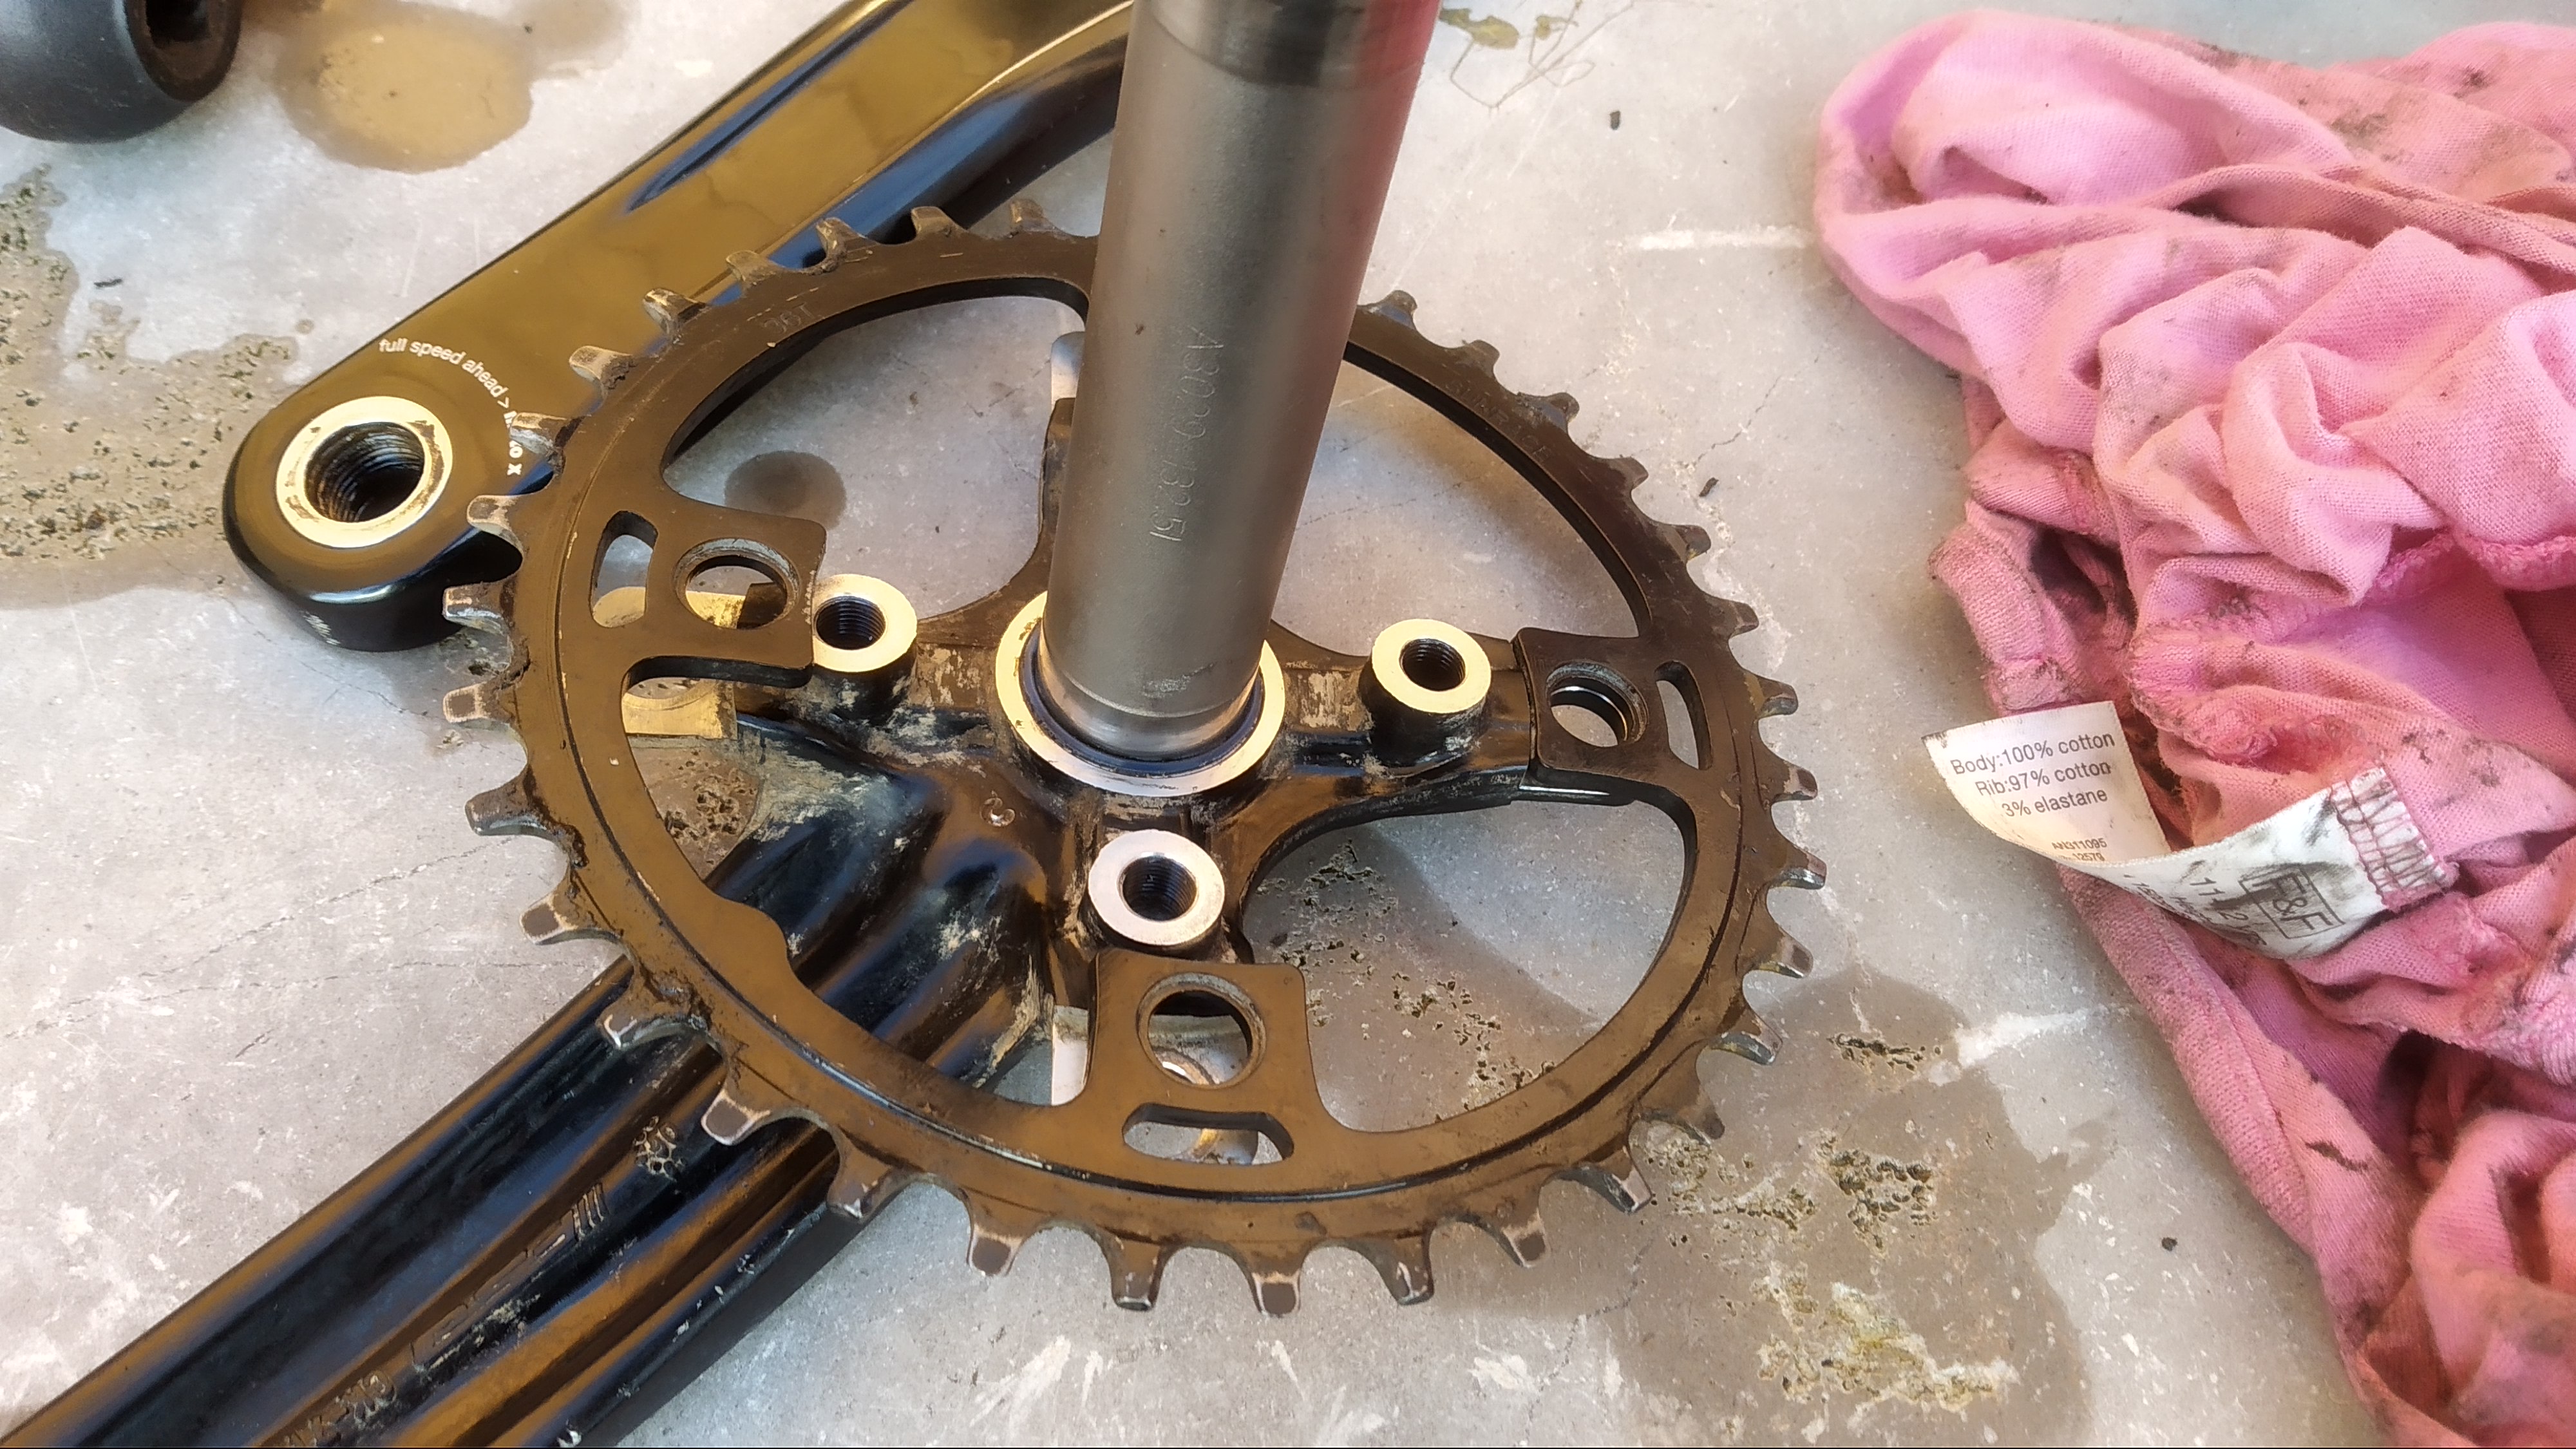
Fig. 01 The lower half of a mountain bike. It has yellow tyres, orange pedals, and a basic one by crank Fig. 02 A view from the top of the bike, down towards the cranks and BB. A sticker on the top tube is visible. It has a sealed square taper BB. Fig. 03 The bike with removed drive side crank Fig. 04 Both cranks on the floor, one with the crank removal tool still in it. A pedal spanner lays next to them. The BB is visible with no cranks on it, still installed in the frame. Fig. 05 The removed sealed BB sits next to the potential new cranks on the floor Fig. 06 The frame with a rag through it to clean out the BB shell Fig. 07 The whole bike is now in a stand on the driveway. No cranks or bottom bracket is installed Fig. 08 The new holotech bottom bracket is in the bag and on the workstand table. It's silver with a black internal Fig. 09 Starting to install the bottom bracket. The drive side is half installed. Fig. 10 From the non-driveside you can see through the bottom bracket. The middle sleeve is installed, and the threads are greased. Fig. 11 Both sides are now installed, and the cranks are test fitted. They do fit! Fig. 12 A view of all the cranks, some tools, cleaning materials, and grease. Fig. 13 The new cranks are quite dirty with the chainrings removed Fig. 14 The chainring from the old cranks fitted to the new ones showing that it doesn't fit.